1. Kirish
This manual provides essential instructions for the safe and efficient assembly, setup, and maintenance of your Sealey SM3002ST Lathe Stand. This stand is designed to provide stable support for Sealey metalworking lathes and mill/drills, specifically models SM3002, SM2502, and SM2503. Please read this manual thoroughly before assembly and use, and retain it for future reference.
2. Xavfsizlik bo'yicha ko'rsatmalar
Always observe the following safety precautions to prevent personal injury and damage to the equipment.
- Barcha ko'rsatmalarni o'qing: Familiarize yourself with the stand's components and assembly steps before beginning.
- Barqaror sirt: Ensure the stand is assembled and placed on a level, stable, and non-slip surface capable of supporting the combined weight of the stand and the machine mounted on it.
- To'g'ri yig'ish: Assemble the stand strictly according to the instructions provided. Do not modify the stand in any way.
- Xavfsiz o'rnatish: Always ensure the lathe or mill/drill is securely fastened to the stand using appropriate hardware.
- Og'irlik hajmi: Do not exceed the recommended weight capacity of the stand. Refer to the specifications section.
- Ish maydonini tozalash: Keep the area around the stand clear of obstructions and debris.
- Bolalar va kuzatuvchilar: Bolalar va ruxsatsiz shaxslarni ish joyidan uzoqroq tuting.
3. Paket tarkibi
Barcha komponentlarni ehtiyotkorlik bilan o'ramidan chiqarib oling va quyidagi ro'yxat bilan tekshiring. Agar biron bir qism yo'qolgan yoki shikastlangan bo'lsa, darhol yetkazib beruvchingizga murojaat qiling.
- Sealey SM3002ST Lathe Stand components (legs, cross-members, sliding tool shelf, hardware)
Image 3.1: Sealey SM3002ST Lathe Stand
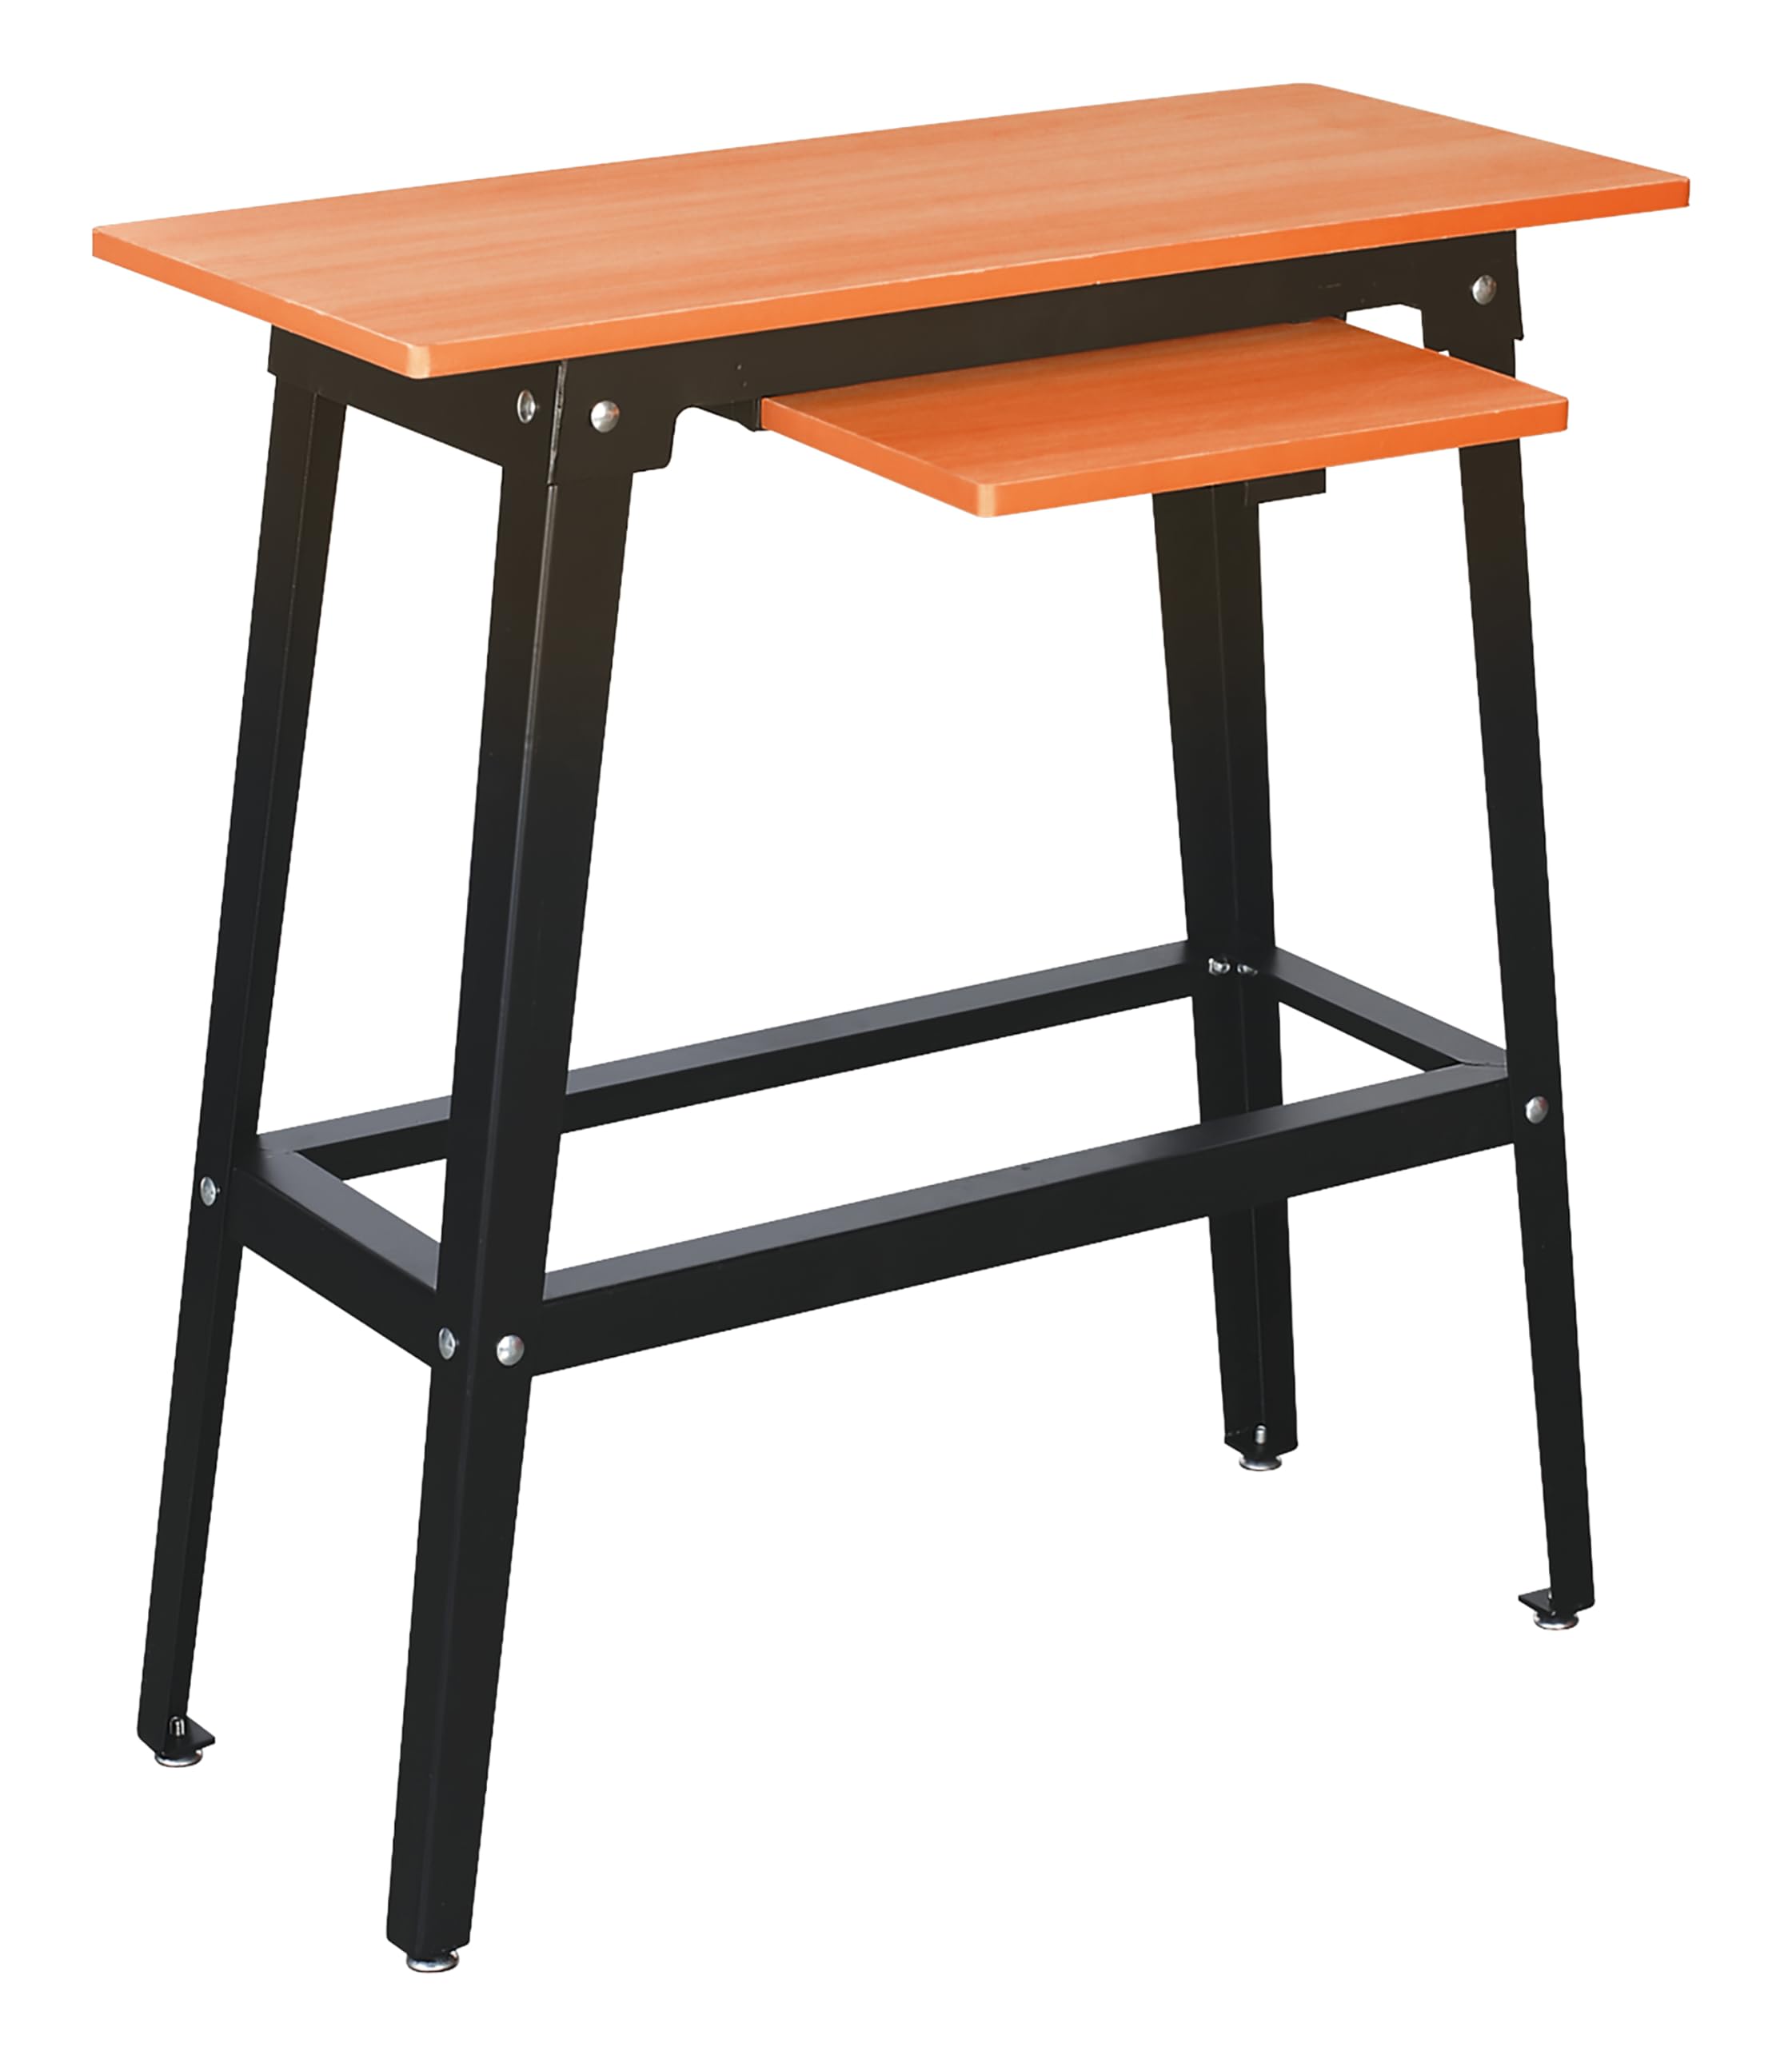
Yig'ilgan view of the Sealey SM3002ST Lathe Stand, showing its robust construction and design.
4. Yig'ish
Follow these steps to assemble your Sealey SM3002ST Lathe Stand.
4.1. Kerakli vositalar
- Sozlanishi kalit yoki rozetka to'plami
- Screwdriver (if applicable for shelf attachment)
4.2. Yig'ish bosqichlari
- Identify all components: legs, cross-members, sliding tool shelf, and all fasteners (bolts, nuts, washers).
- Attach the lower cross-members to the legs. Ensure all bolts are finger-tight at this stage.
- Attach the upper cross-members to the legs. Again, keep bolts finger-tight.
- Once all structural components are in place, carefully stand the frame upright.
- Diagonally tighten all bolts securely. Do not overtighten.
- Install the sliding tool shelf onto its designated runners or brackets. Ensure it slides smoothly.
- Verify that the stand is stable and all connections are secure before proceeding to setup.
5. Sozlash
Proper placement and securing of your machine are crucial for safe operation.
5.1. Stand Placement
- Choose a location with adequate space around the stand for safe operation of the lathe or mill/drill.
- Ensure the floor is level and capable of supporting the total weight.
- If necessary, use shims to level the stand.
5.2. Attaching the Lathe/Mill/Drill
- Carefully lift your Sealey SM3002, SM2502, or SM2503 machine onto the top surface of the stand. It is recommended to have assistance for this step due to the weight of the machines.
- Align the mounting holes on the machine with the corresponding holes on the stand's top plate.
- Secure the machine to the stand using appropriate bolts, washers, and nuts (not supplied with the stand, typically provided with the machine). Ensure all fasteners are tightened securely to prevent movement during operation.
6. Operatsion
The SM3002ST stand provides a stable base and convenient storage for your metalworking machine.
6.1. Sliding Tool Shelf
- The integrated sliding tool shelf offers convenient storage for tools, accessories, and small parts within easy reach during operation.
- Ensure that items placed on the shelf do not interfere with the operation of the machine or create a hazard.
- Do not overload the shelf.
7. Xizmat ko'rsatish
Regular maintenance will ensure the longevity and safe operation of your stand.
- Tozalash: Wipe down the stand regularly with a clean, damp chang va qoldiqlarni olib tashlash uchun mato. Abraziv tozalash vositalaridan saqlaning.
- Tekshirish: Periodically check all bolts and fasteners for tightness. Retighten as necessary.
- Barqarorlikni tekshirish: Ensure the stand remains stable and level. Adjust shims if required.
- Zarar: Inspect the stand for any signs of damage, such as bent components or cracks. If damage is found, discontinue use and replace affected parts or the entire stand if necessary.
8. Muammolarni bartaraf qilish; nosozliklarni TUZATISH
This section addresses common issues you might encounter with the stand.
- Tik turishdagi tebranishlar:
- Check if the stand is on a level surface. Use shims if needed.
- Barcha yig'ish murvatlari mahkam tortilganligiga ishonch hosil qiling.
- Machine Not Secure:
- Verify that the machine's mounting bolts are correctly installed and fully tightened.
- Ensure the machine is compatible with the stand (SM3002, SM2502, SM2503).
- Sliding Shelf Sticking:
- Clean the shelf runners to remove any debris or dust.
- Apply a small amount of dry lubricant if necessary.
9. Texnik shartlar
| Xususiyat | Tafsilot |
|---|---|
| Model raqami | SM3002ST |
| Moslik | Sealey SM3002, SM2502, SM2503 Lathes/Mill/Drills |
| Umumiy oʻlcham (G x D x Y) | 800 x 355 x 880 mm (taxminan 31.5 x 14 x 34.6 dyuym) |
| Element og'irligi | 4.41 lbs (2 kg approx.) |
| Kiritilgan komponentlar | Lathe Stand (assembly required) |
10. Kafolat va qo'llab-quvvatlash
This Sealey product comes with a 1-year guarantee. For specific terms and conditions, please refer to the official Sealey warranty documentation or contact Sealey customer support.
Image 10.1: Sealey 1 Year Guarantee

The Sealey brand logo accompanied by a '1 Year Guarantee' badge, indicating the product's warranty period.
For technical support, spare parts, or warranty claims, please contact your authorized Sealey dealer or visit the official Sealey websayt.