
1. Kirish
This manual provides detailed instructions for the setup, operation, and maintenance of your ELECROW 7 Inch 1024x600 IPS Capacitive Touchscreen Monitor. This display is designed for broad compatibility with devices such as Raspberry Pi (5/4/3B+/3B/2B+), BB Black, Banana Pi, Jetson Nano, and Windows 11/10/8/7 systems.
Asosiy xususiyatlar:
- HD tasvirlar: 7-inch IPS screen with 1024x600 resolution and 170° wide viewing angle for consistent colors and clear viewing.
- Kapasitiv teginish: Supports up to 5-point touch functionality without requiring driver installation for most compatible systems.
- Plug and Play: Simple connectivity via HD (HDMI) and Micro USB ports for immediate use.
- Ko'p qirrali dastur: Suitable for use as a Raspberry Pi display, mini PC monitor, gaming console screen, or a computer temperature monitor.
2. Qutida nima bor
O'rnatishni davom ettirishdan oldin, barcha komponentlarning mavjudligini tekshiring.
- 7 Inch Capacitive Display x 1
- HD Cable x 1
- USB kabeli x 1
- Micro HD Adapter x 1
- Copper Screws Pack (4pcs) x 1
- DVD x 1 (Contains drivers and documentation)
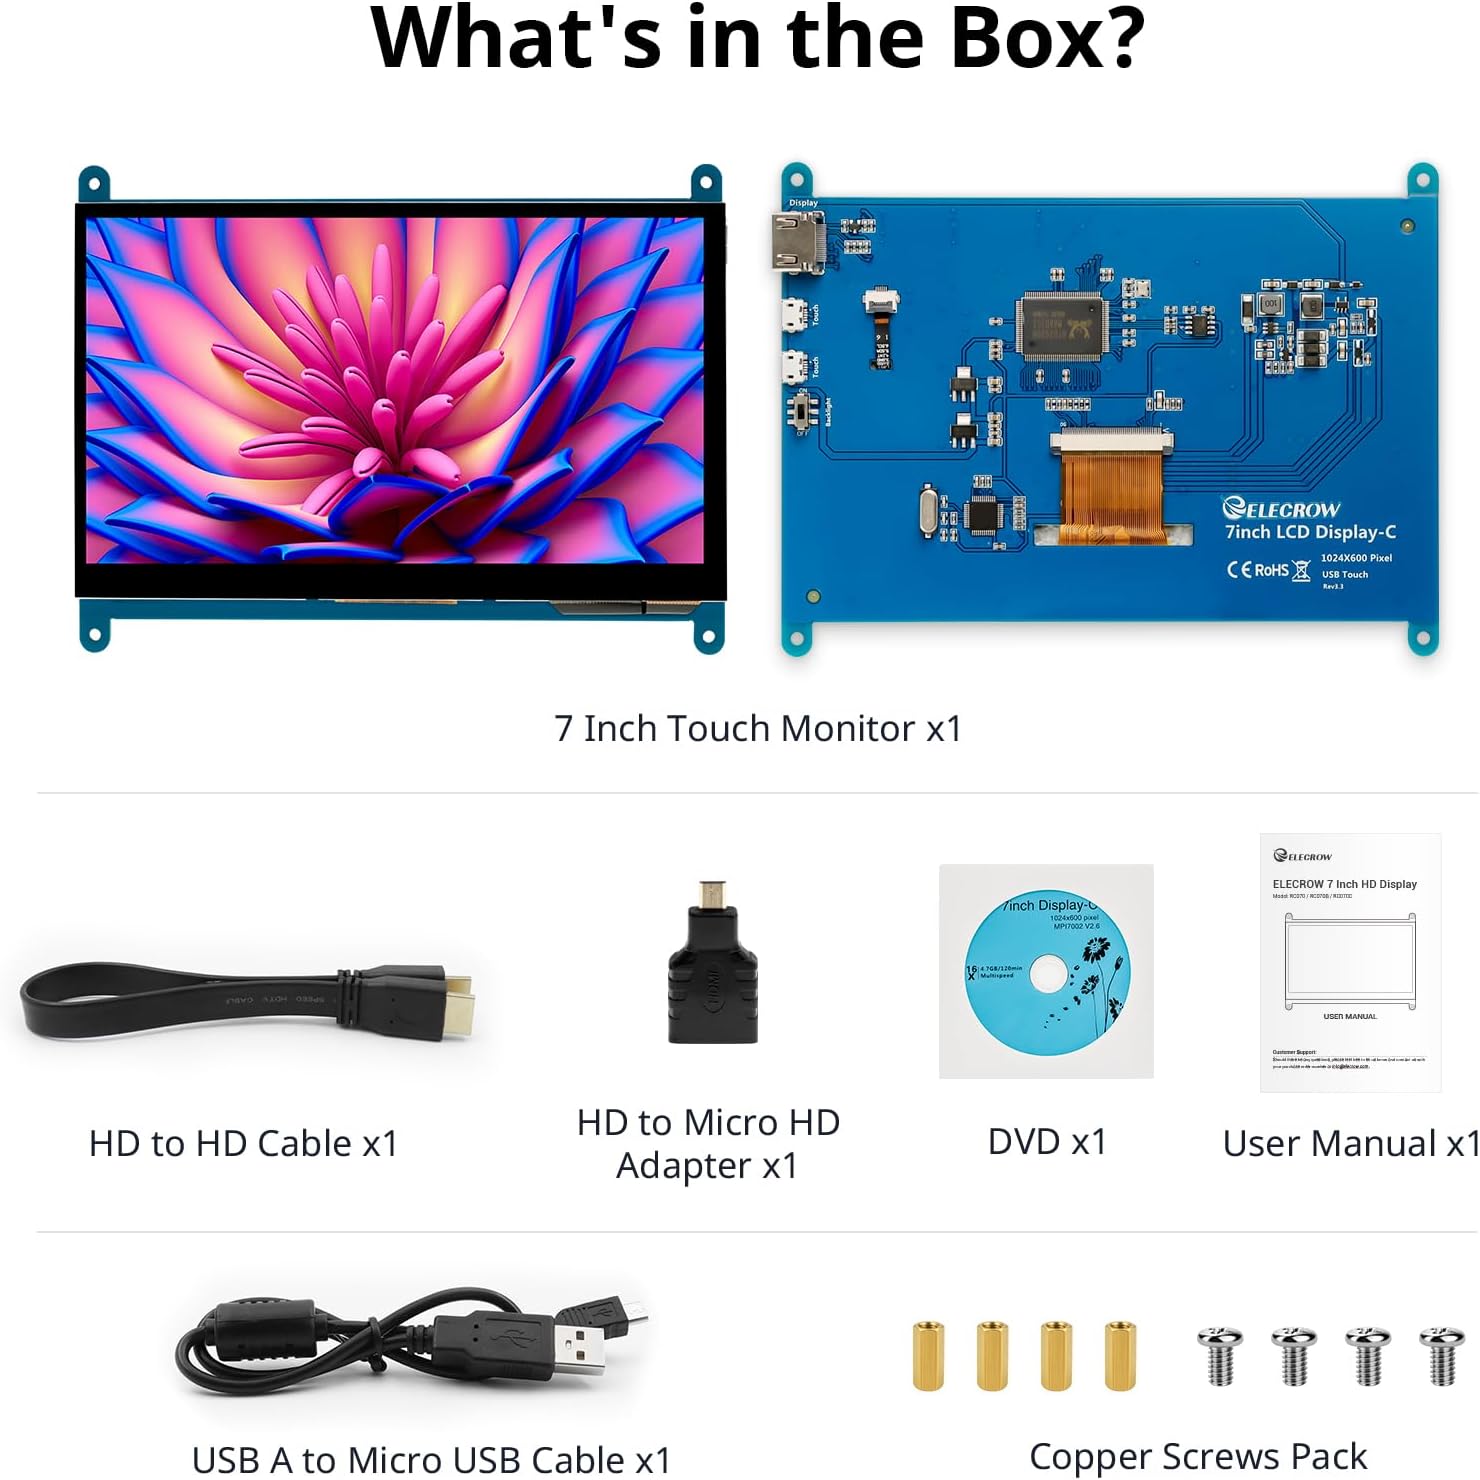
Image: All components included in the product packaging.
3. O'rnatish va ulanishlar
Follow these steps to connect your ELECROW 7 Inch Touchscreen Monitor to your device.
3.1 Uskuna tugadiview

Rasm: orqa view of the monitor highlighting the Standard HD Port, Micro USB Port for touch and power, and Backlight switch.
- Standard HD Port: For video data transfer.
- Micro USB port: Sensorli funksiyalar va quvvat manbai uchun.
- Orqa yorug'likni o'zgartirish: To turn the display backlight on or off.
3.2 Connecting to Raspberry Pi
To connect the monitor to a Raspberry Pi, you will need both the HD cable for video and the USB cable for touch and power.
- Connect one end of the HD cable to the Standard HD Port on the monitor and the other end to the HDMI port on your Raspberry Pi. Use the Micro HD adapter if necessary for your Raspberry Pi model.
- Connect the Micro USB cable to the Micro USB Port on the monitor. Connect the other end of the USB cable to a USB port on your Raspberry Pi for power and touch data.
- Ensure the backlight switch on the monitor is in the 'On' position.
- Power on your Raspberry Pi. The display should automatically detect and show the output.
For touch functionality with Raspberry Pi, power can be supplied via the Raspberry Pi's USB port. If using an external power source for the Raspberry Pi, ensure it is sufficient. For optimal performance, especially with older Raspberry Pi models, an external power supply for the monitor might be beneficial if the Pi cannot provide enough current.
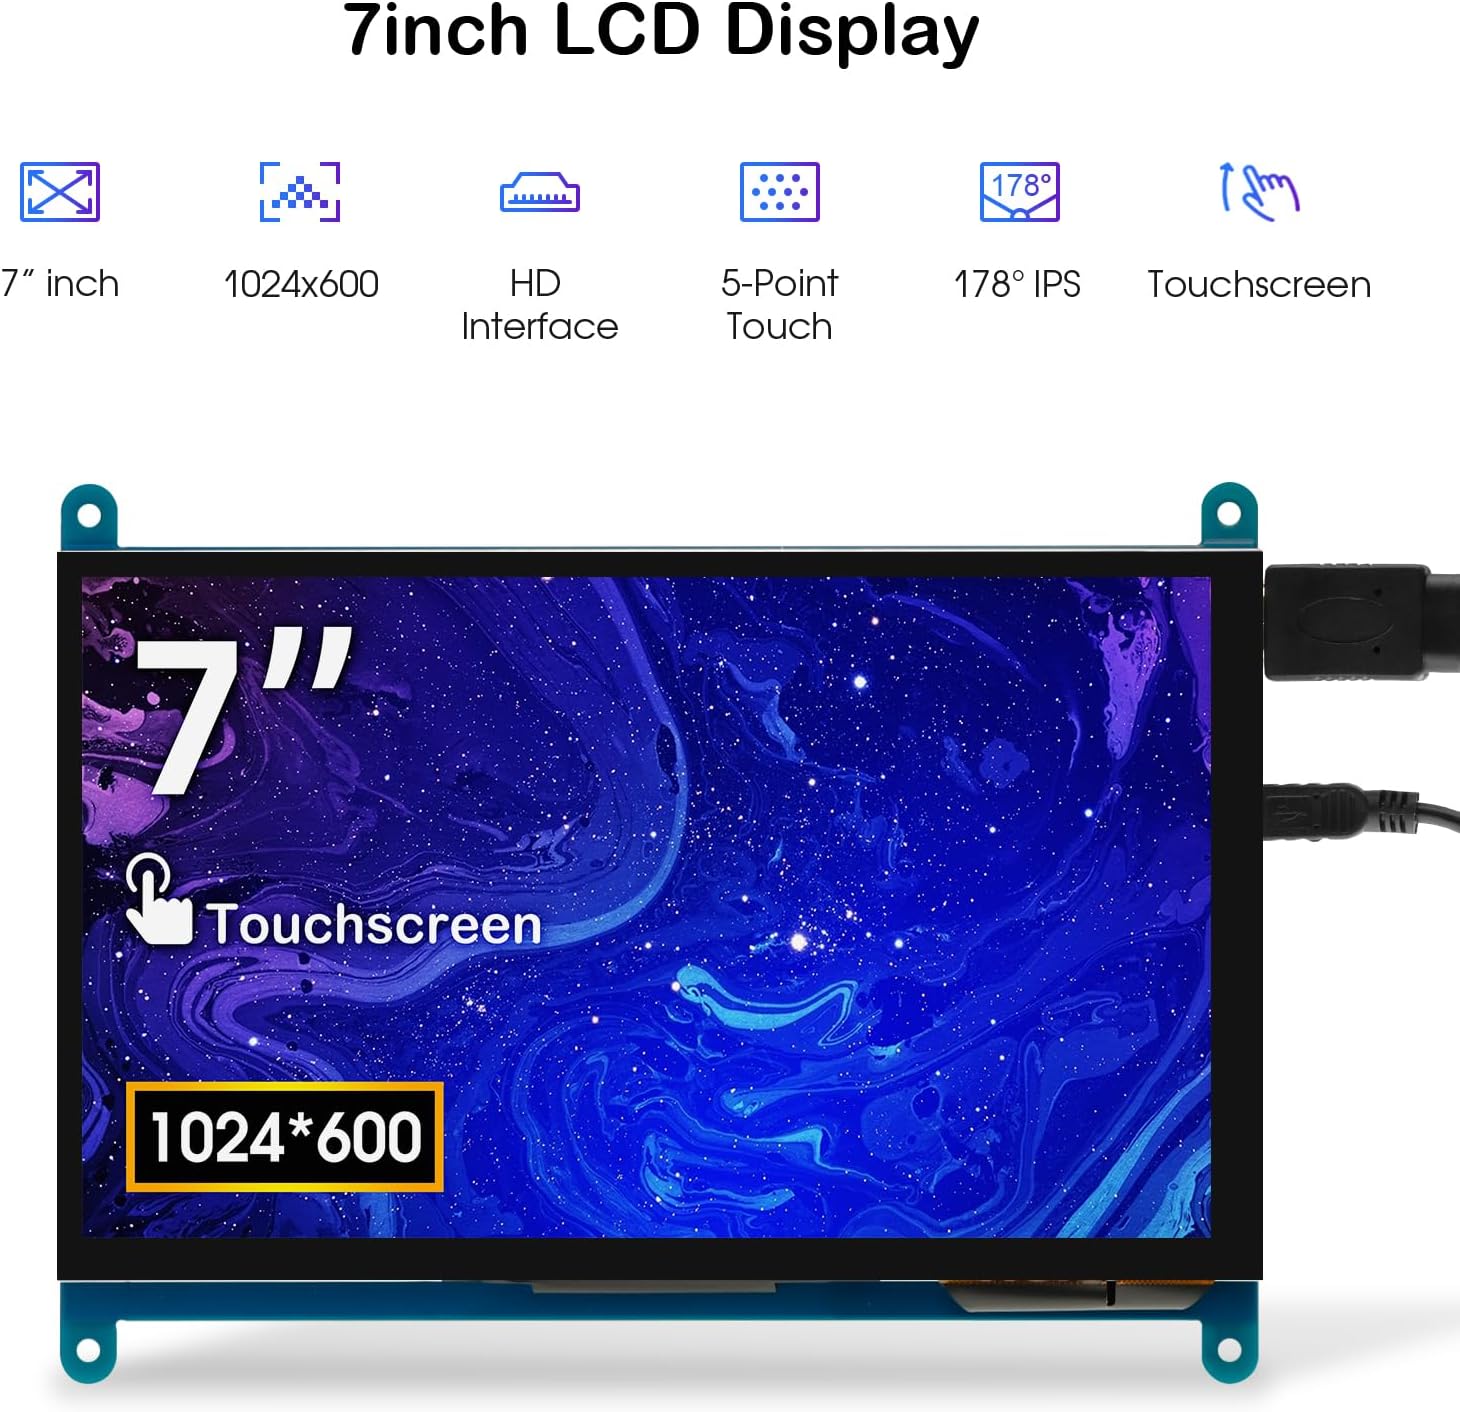
Image: The 7-inch touchscreen connected to a Raspberry Pi board, displaying a graphical user interface.
3.3 Connecting to Windows PC/Laptop
For Windows systems, the monitor functions as a plug-and-play display and touchscreen.
- Connect the HD cable from the monitor's Standard HD Port to an HDMI port on your PC or laptop.
- Connect the Micro USB cable from the monitor's Micro USB Port to a USB-A port on your PC or laptop. This provides power and enables touch functionality.
- Ensure the backlight switch is 'On'.
- Your Windows system should automatically detect the display and touchscreen. No additional drivers are typically required for Windows 7/8/10/11 for basic display and 5-point touch.

Image: The 7-inch touchscreen connected to a laptop, demonstrating seamless connectivity with various operating systems including Windows.
4. Foydalanish bo'yicha ko'rsatmalar
4.1 Sensorli funksiya
The monitor supports 5-point capacitive touch, allowing for various gestures.
- Bosing: Single touch for selection or activation.
- Matbuot: Sustained touch for context menus or drag operations.
- Kattalashtirish/kichiklashtirish: Pinch gestures with two fingers.
- Mouse Click: A single tap typically registers as a left-click.
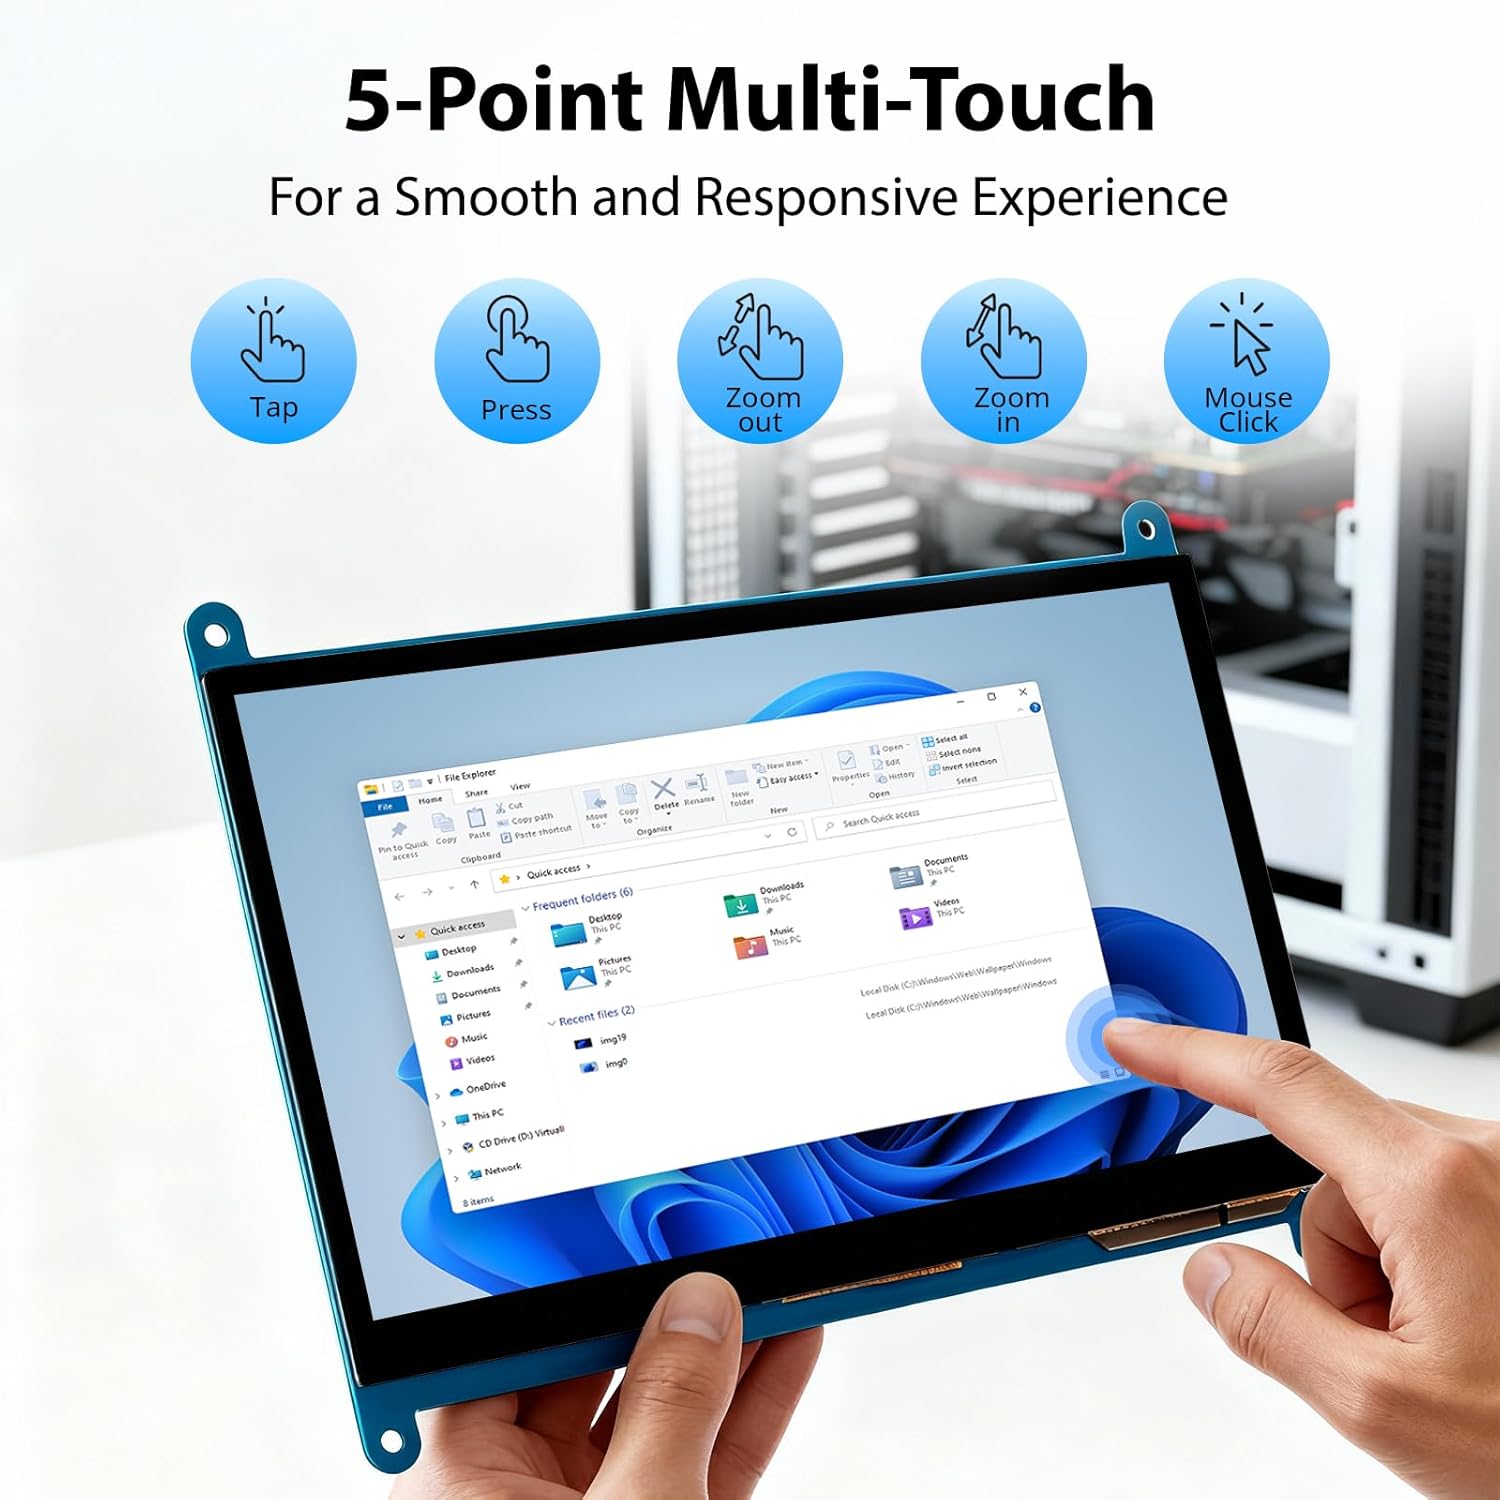
Image: Visual guide to the 5-point multi-touch capabilities of the screen, showing common gestures.
4.2 Displey rejimlari
When connected to a computer, the monitor can operate in several display modes:
- Takroriy rejim: The monitor mirrors the content of your primary display.
- Kengaytirish rejimi: The monitor acts as an extension of your primary display, providing additional screen space.
- Ikkinchi ekran rejimi: The monitor functions as the sole display, with the primary display turned off.
These modes can typically be configured through your operating system's display settings.

Image: Illustrations demonstrating the three display modes: Duplicate, Extend, and Second Screen, showing how the monitor can be used with a laptop.
4.3 Orqa yorug'likni boshqarish
The monitor features a physical switch to control the backlight. This allows you to turn the display illumination on or off without disconnecting power. Note that there is no granular brightness control; it is an on/off function only.
Video: This video demonstrates the backlight control switch on the ELECROW 7 Inch Touchscreen, showing how to turn the display illumination on and off.
5. Xizmat ko'rsatish
To'g'ri parvarishlash monitoringizning uzoq umr va optimal ishlashini ta'minlaydi.
- Ekranni tozalash: Bir oz yumshoq, tuklarsiz matodan foydalaning dampened with water or a screen-cleaning solution. Avoid harsh chemicals or abrasive materials that could damage the screen surface.
- Umumiy parvarish: Keep the monitor in a clean, dry environment. Avoid exposing it to extreme temperatures, direct sunlight, or high humidity.
- Ishlov berish: Handle the monitor by its edges. Avoid applying excessive pressure to the screen.
6. Muammolarni bartaraf qilish; nosozliklarni TUZATISH
Agar siz monitor bilan bog'liq muammolarga duch kelsangiz, quyidagi umumiy muammolar va echimlarga murojaat qiling.
| Muammo | Mumkin sabab | Yechim |
|---|---|---|
| Displey yo'q/Qora ekran |
|
|
| Sensorli ekran javob bermayapti |
|
|
| Display resolution incorrect |
|
|
| Yorqinlikni boshqarish yo'q | The monitor only has an on/off switch for the backlight, not adjustable brightness. | This is expected behavior. The monitor does not support adjustable brightness. |
7. Texnik shartlar
Detailed technical specifications for the ELECROW 7 Inch Touchscreen Monitor.
| Xususiyat | Tafsilot |
|---|---|
| Brend | ELEKRO |
| Model nomi | RC070 |
| Ekran o'lchami | 7 dyuym |
| Displeyning maksimal ruxsati | 1024 x 600 |
| Mahalliy rezolyutsiya | 1024x600 |
| Displey turi | LCD |
| Displey texnologiyasi | IPS |
| Aspekt nisbati | 1.71:1 |
| Yangilanish tezligi | 60 Gts |
| Javob vaqti | 8 millisekund |
| Kontrast nisbati | 800:1 |
| Yorqinlik | 300 lm |
| Viewburchak | 170 daraja |
| Ekran yuzasi tavsifi | Yaltiroq |
| Ulanish texnologiyasi | HDMI |
| Uskuna ulanishi | HDMI, USB |
| Total Number of HDMI Ports | 1 |
| Jami USB portlari | 2 (Micro USB for power/touch, USB-A for power/touch) |
| Quvvat iste'moli | 12.5 vatt |
| jildtage | 5 volt |
| Buyum oʻlchamlari (D x G x Y) | 0.3"D x 6.1"W x 4.8"Y |
| Element og'irligi | 7.36 untsiya |
| Mos qurilmalar | Raspberry Pi, BB Black, Banana Pi, Jetson Nano, Computers, Laptops, Gaming Consoles |
8. Kafolat va qo'llab-quvvatlash
Your ELECROW 7 Inch Touchscreen Monitor comes with a manufacturer's warranty.
- Kafolat turi: 1 yillik ishlab chiqaruvchi kafolati
- Kafolat tavsifi: 1 yillik ishlab chiqaruvchi
For technical support or warranty claims, please contact ELECROW customer service through their official webmahsulot sotib olingan sayt yoki platforma.


