
1. Xavfsizlik bo'yicha muhim ko'rsatmalar
Please read these instructions carefully before using the appliance to prevent damage, fire, or injury. Keep this manual for future reference.
- Jihoz har doim barqaror, issiqqa chidamli yuzaga o'rnatilganligiga ishonch hosil qiling.
- Jihozni, shnurni yoki vilkasini suvga yoki boshqa suyuqliklarga botirmang.
- Ishlatilmayotganda, qismlarni yig'ish yoki demontaj qilishdan oldin va tozalashdan oldin jihozni rozetkadan uzing.
- Hech qanday jihozni shnuri yoki vilkasi shikastlangan holda yoki jihoz ishlamay qolgan yoki biron-bir tarzda shikastlangandan keyin ishlatmang.
- Keep children away from the appliance during operation. The surface can become hot.
- Ishlab chiqaruvchi tomonidan tavsiya etilmagan aksessuarlardan foydalanmang.
- Ushbu qurilma faqat maishiy foydalanish uchun mo'ljallangan.
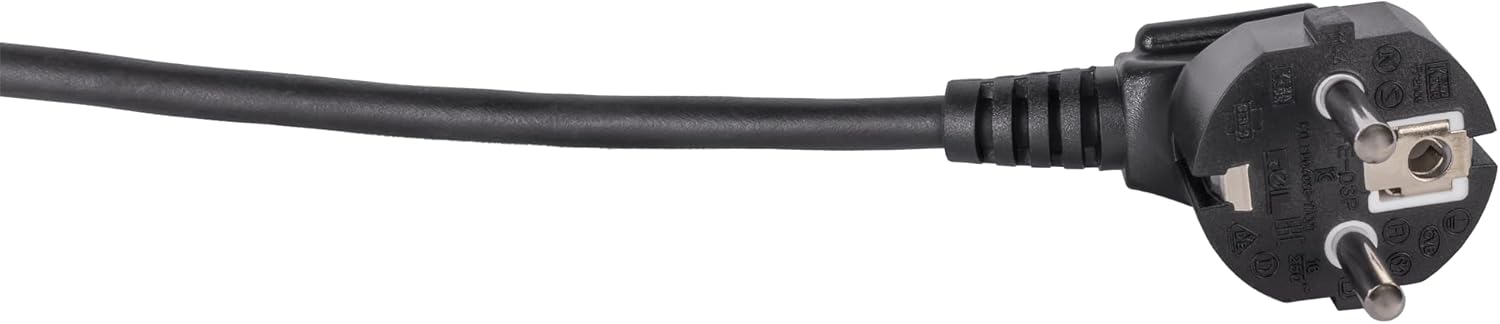
Image: Standard European power plug. Ensure the plug is fully inserted into a grounded outlet.
2. Mahsulot tugadiview
2.1 ta komponent
The Steba BM 3 Bread Maker includes the following main components:
- Main Unit with Control Panel and Display
- Removable Baking Pan with Non-stick Coating
- Yelkash eshkak
- O'lchov kubogi
- O'lchov qoshig'i
- Hook for removing kneading paddle
- Qopqoq bilan Viewkirish oynasi

Rasm: old view of the Steba BM 3 Bread Maker, showing its compact design.
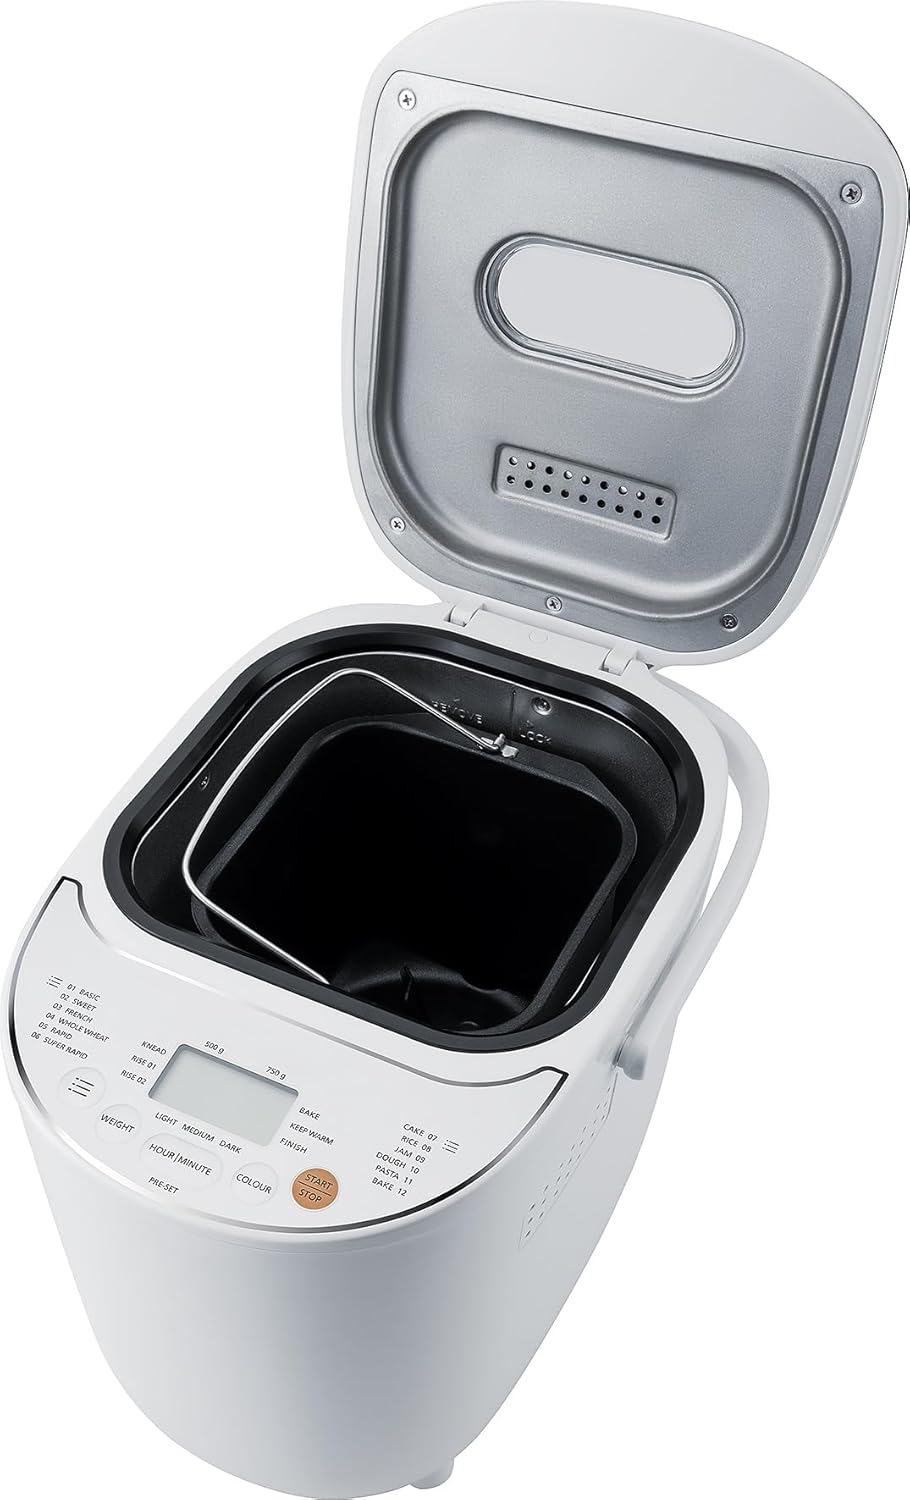
Image: The bread maker with its lid open, revealing the removable baking pan inside.
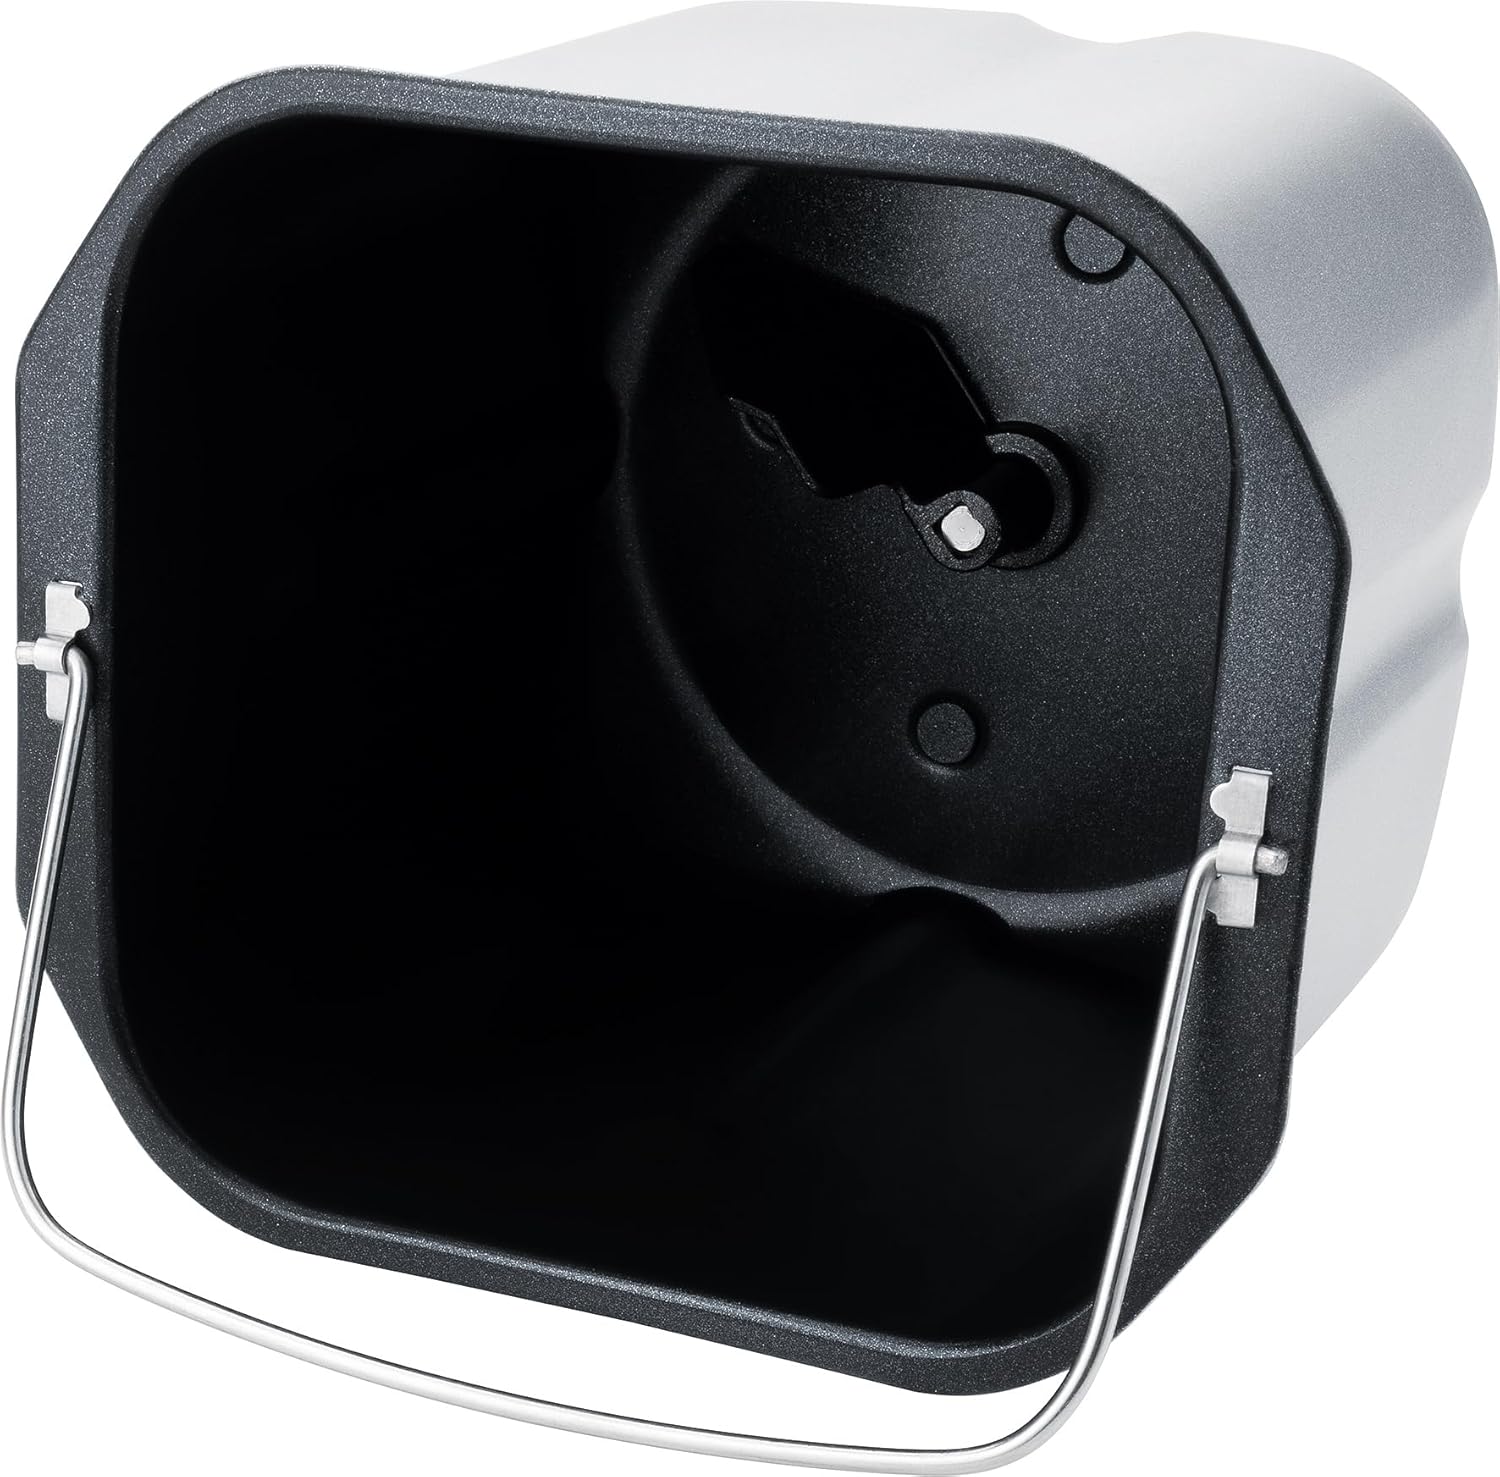
Rasm: batafsil view of the non-stick baking pan with the kneading paddle shaft.

Image: Included accessories: a measuring cup, a double-sided measuring spoon, and a hook for removing the kneading paddle.
2.2 Boshqaruv paneli va displey
The intuitive Touch-Control panel allows for easy program selection and setting adjustments.

Image: Close-up of the control panel, showing the digital display, program list, and control buttons for weight, time, color, and start/stop.
Kalit elementlari:
- Displey: Shows selected program, time, and settings.
- Dastur tanlash: Choose from 12 automatic programs (Basic, Sweet, French, Whole Wheat, Rapid, Super Rapid, Cake, Rice, Jam, Dough, Pasta, Bake).
- Weight Button: Adjust bread weight (500g or 750g).
- Colour Button: Select crust browning level (Light, Medium, Dark).
- Hour/Minute (Pre-set) Buttons: Set delay timer for up to 13 hours.
- Boshlash/to'xtatish tugmasi: Initiate or cancel a program.
3. O'rnatish va birinchi foydalanish
3.1 Paketni ochish
- Non mashinasini va barcha aksessuarlarni ehtiyotkorlik bilan qadoqdan chiqarib oling.
- Qurilmadan himoya plyonkalari yoki stikerlarni olib tashlang.
- Wash the baking pan, kneading paddle, measuring cup, and spoon in warm, soapy water. Rinse thoroughly and dry completely. The main unit should only be wiped with a damp mato.
3.2 Dastlabki foydalanish
- Place the bread maker on a clean, dry, and stable surface.
- Insert the baking pan into the main unit and twist it clockwise until it locks into place.
- Attach the kneading paddle onto the shaft inside the baking pan.
- For the first use, it is recommended to run a short 'Bake' cycle (Program 12) without ingredients for about 10 minutes to burn off any manufacturing residues. Ensure good ventilation during this process.
- Allow the appliance to cool down completely before cleaning and proceeding with actual baking.
4. Operatsiya
4.1 Non tayyorlashning asosiy bosqichlari
- Ingredientlarni qo'shing: Follow a recipe and add liquid ingredients first, then dry ingredients, and finally yeast. Ensure yeast does not come into direct contact with liquids or salt.
- Dasturni tanlang: Plug in the bread maker. The default program (usually 'Basic') will appear on the display. Press the 'Program' button repeatedly to cycle through the 12 available programs until your desired program is selected.
- Set Weight: Press the 'Weight' button to choose between 500g or 750g loaf size, if applicable for the selected program.
- Set Crust Colour: Press the 'Colour' button to select Light, Medium, or Dark crust.
- Pishirishni boshlang: Press the 'Start/Stop' button. The bread maker will begin the selected program.
- Tugallash: Once the program finishes, the bread maker will beep and automatically switch to a 1-hour 'Keep Warm' function.
- Nonni olib tashlang: Unplug the appliance. Using oven mitts, carefully remove the baking pan by twisting it counter-clockwise and lifting it out. Invert the pan to release the bread onto a wire rack to cool. If the kneading paddle remains in the bread, use the provided hook to remove it.
4.2 Delay Timer Function
The delay timer allows you to set the bread maker to finish baking at a later time, up to 13 hours. This is ideal for fresh bread in the morning.
- Barcha ingredientlarni pishirish idishiga qo'shing.
- Select your desired program, weight, and crust colour.
- Press the 'Hour' and 'Minute' buttons to set the desired delay time. The displayed time includes the baking cycle duration.
- Press 'Start/Stop'. The timer will count down, and the bread maker will start automatically when the delay time expires.
Eslatma: Do not use the delay timer with recipes containing highly perishable ingredients like milk, eggs, or fresh fruit, as they may spoil.

Image: An assortment of various types of freshly baked bread, illustrating the potential output of the bread maker.
5. Xizmat va tozalash
Proper cleaning and maintenance ensure the longevity and optimal performance of your bread maker.
5.1 Tozalash
- Tozalashdan oldin har doim jihozni elektr tarmog'idan uzing va to'liq sovishini kuting.
- Pishirish tovasi va xamir yoyish dastagi: These parts are non-stick and should be washed by hand with warm, soapy water. Avoid abrasive cleaners or scouring pads that could damage the non-stick coating. Rinse thoroughly and dry completely.
- Asosiy birlik: Non mashinasining tashqi qismini yumshoq, d bilan artingamp mato. Qattiq kimyoviy moddalardan foydalanmang yoki jihozni suvga botirmang.
- Qopqoq: The lid can be wiped clean with a damp mato. The viewing window can be cleaned with a mild glass cleaner if necessary.
5.2 Saqlash
Store the bread maker in a dry, clean place, away from direct sunlight and out of reach of children.
6. Muammolarni bartaraf qilish; nosozliklarni TUZATISH
Agar non pishirgichingiz bilan bog'liq muammolarga duch kelsangiz, quyidagi keng tarqalgan muammolar va yechimlarga murojaat qiling:
| Muammo | Mumkin sabab | Yechim |
|---|---|---|
| Non ko'tarilmaydi | Expired yeast, incorrect water temperature, too much salt/sugar, wrong program. | Check yeast expiry, use lukewarm water, ensure correct ingredient ratios, select appropriate program. |
| Non juda qalin | Too much flour, not enough liquid, yeast issue. | Measure ingredients precisely, ensure proper liquid-to-flour ratio, check yeast activity. |
| Nonga tiqilib qolgan xamir yeyayotgan belkurak | Oddiy hodisa. | Use the provided hook to carefully remove the paddle after the bread has cooled slightly. |
| Qurilma ishga tushmayapti | Not plugged in, program not selected, 'Start/Stop' not pressed. | Ensure power connection, select a program, press 'Start/Stop'. |
7. Texnik shartlar
Technical details for the Steba BM 3 Bread Maker:
- Model raqami: 188300
- Brend: Steba
- jildtage: 230 volt
- Wattage: 540 Vt
- Imkoniyat: Up to 750 Grams
- Mahsulot o'lchamlari (D x G x Y): 34D x 27.5 Vt x 24 H sm
- Mahsulot og'irligi: 4 kilogramm
- Material: Plastik
- Dasturlar soni: 12
- G'amxo'rlik bo'yicha ko'rsatmalar: Faqat qo'lda yuvish (olinadigan qismlar uchun)
- EU Spare Parts Availability: 2 yil

Image: Diagram showing the dimensions of the Steba BM 3 Bread Maker: 34 cm depth, 27.5 cm width, and 24 cm height.
8. Kafolat va qo'llab-quvvatlash
For warranty claims, technical support, or service inquiries, please contact your retailer or the manufacturer directly. Keep your proof of purchase for warranty validation.