1. Kirish
Sotib olganingiz uchun tashakkurasing the PMW Mini Wireless Controller. This manual provides essential information for setting up, operating, and maintaining your controller. Please read it carefully before use and keep it for future reference.
This controller is designed for use with Nintendo Switch, Switch Lite, Switch OLED, and PC, offering a comfortable and feature-rich gaming experience.
2. Mahsulot tugadiview
2.1 Asosiy xususiyatlar
- Cat Ear Design: Delicate and compact, suitable for women and children.
- Continuous Fire Function: Allows rapid firing without holding the button.
- Wake-up from Sleep: Press the HOME button to wake up the Switch console.
- 6 o'qli giroskop sensori: Provides precise control for motion-sensing games.
- Tebranish funktsiyasi: Four adjustable levels (None/Weak/Standard/Strong) for immersive feedback.
- 3.5 mm eshitish vositasi uyasi: Supports wired headphones (wired mode only).
- Katta quvvatli batareya: Built-in 300mAh battery for 8-10 hours of continuous play.
- Ikki tomonlama ulanish: Supports both Bluetooth wireless and USB wired connections.
2.2 Paket tarkibi
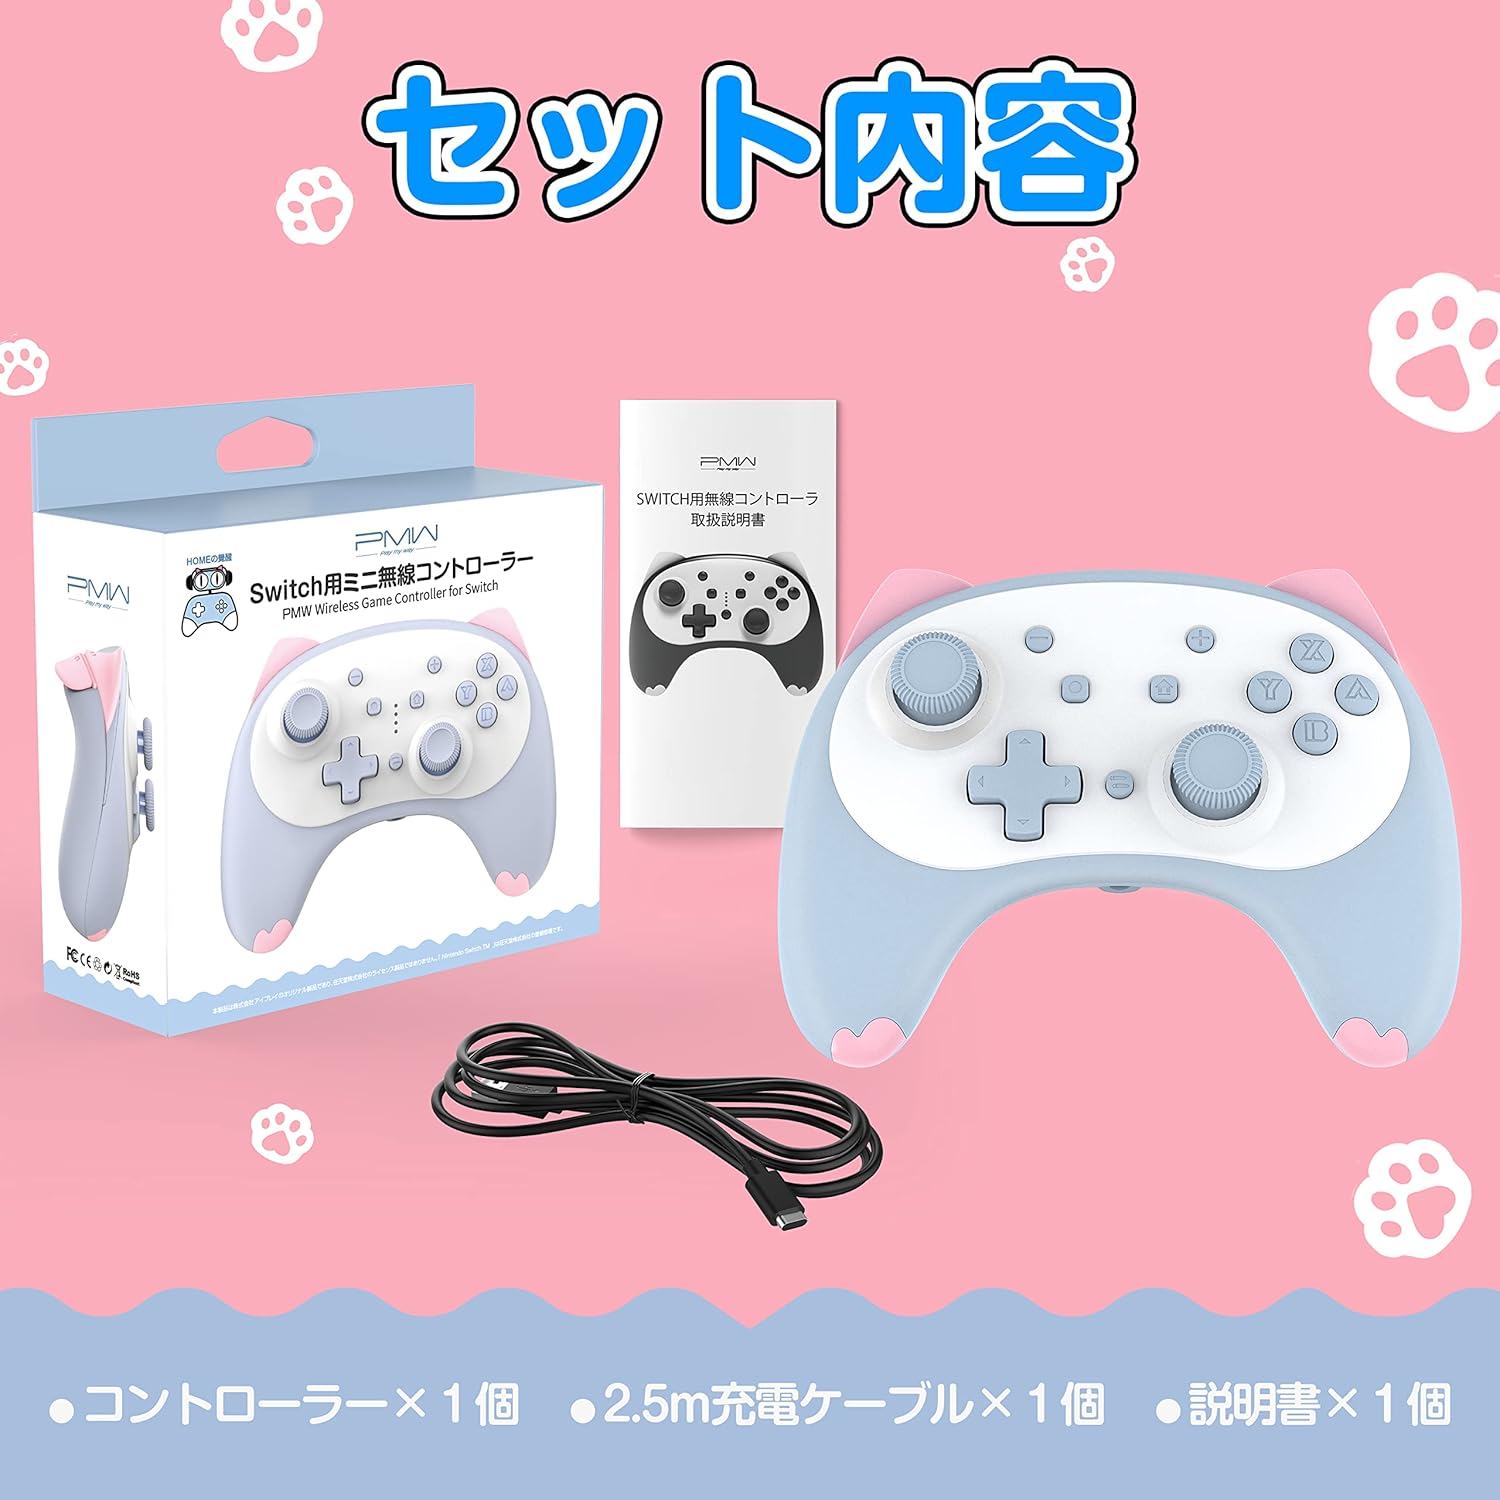
Image: Package contents showing the controller, a charging cable, and the instruction manual.
- PMW Mini Wireless Controller x 1
- 2.5m USB Type-C Charging Cable x 1
- Qo'llanma x 1
2.3 Tekshirgichning joylashuvi

Image: Detailed diagram illustrating the layout and names of all buttons and ports on the controller.
| Yo'q. | Qism nomi |
|---|---|
| 1 | Chap tayoq |
| 2 | Yo'nalish paneli (D-Pad) |
| 3 | 3.5 mm eshitish vositasi uyasi |
| 4 | Menyu Tanlash tugmasi |
| 5 | Rasmga tushirish tugmasi |
| 6 | Turbo tugmasi |
| 7 | HOME tugmasi |
| 8 | Menu Select + Button |
| 9 | O'ng tayoq |
| 10 | Action Buttons (A/B/X/Y) |
| R | R tugmasi |
| L | L tugmasi |
| ZR | ZR tugmasi |
| ZL | ZL tugmasi |
| C turi | C toifa zaryadlash porti |
| Sinxronlash | Wireless Connection Button |
3. Sozlash
3.1 Wireless Connection (First Time Setup for Nintendo Switch)

Image: Visual instructions for the initial wireless pairing process with a Nintendo Switch.
- Nintendo Switch konsolingizni yoqing.
- HOME menyusidan tanlang Kontrollerlar > Tutqich/tartibni o'zgartiring to enter the controller connection screen.
- ni bosing va ushlab turing Wireless Connection Button (Sync button) on the back of the controller for 2 seconds. Release the button when the four LED indicators start flashing.
- The Switch console and controller will begin pairing. Once connected, the LED indicator on the controller will light up steadily.
3.2 Wired Connection (for Nintendo Switch and PC)
- Connect the controller to your Nintendo Switch dock or PC using the provided USB Type-C charging cable.
- Tekshirish moslamasi avtomatik ravishda tanib olinadi va foydalanishga tayyor bo'ladi.
4. Foydalanish bo'yicha ko'rsatmalar
4.1 Wake-up from Sleep Mode

Image: The controller's HOME button can be used to conveniently wake up the Nintendo Switch console.
Nintendo Switch konsolingizni uyqu rejimidan uyg'otish uchun shunchaki tugmasini bosing HOME tugmasi boshqaruvchida.
4.2 Continuous Fire (Turbo) Function

Image: The controller's continuous fire function, which allows for repeated button presses without constant input.
The controller features a continuous fire hold function. Once activated, it will maintain rapid firing even after you release the button. This is particularly useful for games requiring fast, repeated button presses.
4.3 6 o'qli giroskop sensori

Image: The 6-axis gyro sensor enables precise motion control for characters and vehicles in compatible games.
The built-in 6-axis gyro sensor allows for precise control of in-game characters and vehicles by detecting rotations and changes in direction. This enhances the gaming experience for titles that support somatosensory actions, shooting, and aiming.
4.4 Vibratsiya funksiyasi
The controller includes built-in vibration motors with four adjustable levels: None, Weak, Standard, and Strong. You can customize the vibration intensity to enjoy immersive feedback during gameplay.
4.5 Headphone Jack Usage

Image: The controller's 3.5mm headphone jack in use, demonstrating that wired headphones are supported when the controller is in wired mode.
The controller is equipped with a 3.5mm headphone jack. Important Note: The headphone function is only available when the controller is connected via wired mode (USB cable).
5. Zaryadlash

Image: Visual representation of the controller's battery, highlighting its 8-10 hour usage time and 2-hour charging time.
- The controller has a built-in 300mAh large capacity battery.
- To'liq zaryadlash taxminan 2 soat davom etadi.
- Once fully charged, the controller provides 8 to 10 hours of continuous use.
- To charge, connect the controller to a USB power source (e.g., Switch dock, PC, USB wall adapter) using the provided USB Type-C cable.
6. Texnik shartlar
| Xususiyat | Tafsilot |
|---|---|
| Model | Mini Wireless Controller |
| Moslik | Nintendo Switch, Switch Lite, Switch OLED, PC |
| Ulanish | Bluetooth (Wireless), USB Type-C (Wired) |
| Batareya turi | 1 ta lityum-ion batareyasi (qo'shilgan) |
| Batareya quvvati | 300mAh |
| Zaryadlash vaqti | Taxminan 2 soat |
| Doimiy foydalanish vaqti | 8-10 soat |
| O'lchamlari | 127 x 95 x 52 mm |
| Og'irligi | Taxminan 138g |
| Maxsus xususiyatlar | 6-Axis Gyro, Vibration (4 levels), Continuous Fire, 3.5mm Headphone Jack (wired only) |
7. Muammolarni bartaraf qilish; nosozliklarni TUZATISH
- Controller does not connect wirelessly:
- Ensure the Switch console is on and you are on the 'Change Grip/Order' screen.
- Press and hold the Sync button on the back of the controller for 2 seconds until LEDs flash.
- Tekshirish moslamasi zaryadlanganligiga ishonch hosil qiling.
- Agar muammolar davom etsa, Switch konsolini ham, kontrollerni ham qayta ishga tushirib ko'ring.
- Headphone jack not working:
- The headphone jack only functions when the controller is connected via a wired USB cable. Ensure it is in wired mode.
- Check if the headphones are properly plugged in and functional.
- Nazoratchi javob bermayapti:
- Batareya darajasini tekshiring va agar kerak bo'lsa zaryadlang.
- Try resetting the controller by pressing the small reset button (if available, usually a pinhole) or by turning it off and on.
- Reconnect the controller to the console/PC.
- Vibration is too strong/weak or not working:
- Adjust the vibration intensity settings on the controller or within the game/console settings.
8. Xizmat ko'rsatish
- Keep the controller away from extreme temperatures, direct sunlight, and moisture.
- Kontrollerni yumshoq, quruq mato bilan tozalang. Qattiq kimyoviy moddalar yoki abraziv materiallardan foydalanmang.
- Tekshirish moslamasini tushirib yuborishdan yoki kuchli zarbalarga duchor qilishdan saqlaning.
- Uzoq vaqt davomida ishlatilmaganda, kontrollerni salqin va quruq joyda saqlang.
9. Kafolat va qo'llab-quvvatlash
Specific warranty information for this product is not available in the provided data. Please refer to the product packaging or contact the retailer/manufacturer directly for warranty details and customer support.