
Evanshow 190NOA
Evanshow Fingerprint Door Lock Biometric Door Knob (Model 190NOA) Instruction Manual
Model: 190NOA
1. Kirish
This manual provides detailed instructions for the installation, operation, and maintenance of your Evanshow Fingerprint Door Lock (Model 190NOA). This biometric door knob offers multiple access methods, including fingerprint, password, IC card, and mechanical key. Please read this manual thoroughly before installation and use to ensure proper function and security.

Image 1.1: Evanshow Fingerprint Door Lock components, including the main unit, IC cards, and mechanical keys.
2. Mahsulot tugadiview
2.1 Asosiy xususiyatlar
- 4 ta kirish usuli 1 da: Unlock using fingerprint, password, IC card, or mechanical key.
- Advanced Fingerprint Sensor: 0.5-second recognition speed with a 99% recognition rate, supporting up to 100 unique fingerprints.
- Klaviaturaga kirish: Supports up to 100 passwords, featuring an anti-peep function for enhanced security.
- IC Card Access: Includes 4 IC cards for convenient entry.
- Mexanik kalit zaxirasi: Two physical keys are provided for emergency access.
- Avtomatik qulflash funktsiyasi: Automatically locks the door after a set period.
- Oson o'rnatish: Designed for simple installation on wooden doors 1.18"-1.97" thick, without requiring drilling or wiring.

2.1-rasm: tugadiview of the lock's capacity for user credentials and included accessories.

Image 2.2: Details of the advanced fingerprint recognition technology.
3. Texnik shartlar
| Xususiyat | Tafsilot |
|---|---|
| Model raqami | 190NOA |
| Material | Metall |
| Rang | Qora |
| Tashqi tugatish | Mat qora |
| Qulflash turi | Maxfiylik |
| Element og'irligi | 1.2 funt |
| Mahsulot o'lchamlari | 2 x 1.97 x 1 dyuym |
| Qo'lni yo'naltirish | Qaytariladigan |
| Eshik qalinligining mosligi | 1.18" - 1.97" (30mm - 50mm) |
| Quvvat manbai | Batteries (4x AAA, included) |
| Batareya xujayrasi turi | Sink |
| Barmoq izi sig'imi | 100 gacha |
| Parol hajmi | 100 gacha |
| Kiritilgan komponentlar | Door Handle, 4 IC Cards, 2 Mechanical Keys |
4. O'rnatish va o'rnatish
The Evanshow Fingerprint Door Lock is designed for easy installation. No special wiring or drilling is typically required for standard door preparations. A screwdriver is the primary tool needed.
4.1 Eshik mosligini tekshirish
Before installation, verify your door's dimensions and type. This lock is compatible with door thicknesses between 1.18 inches (30mm) and 1.97 inches (50mm). Ensure your door has a standard backset (2-3/8" or 2-3/4") and a 1" (25mm) latch hole.

Image 4.1: Guide to checking your door's dimensions for proper fit.

Image 4.2: Compatibility check for various door lock configurations.
4.2 O'rnatish bosqichlari (umumiy)
- Mavjud qulfni olib tashlash: Carefully remove your current door knob or lockset.
- Latchni o'rnatish: Insert the new latch into the door edge and secure it with screws. Ensure the latch bolt faces the correct direction for your door swing.
- Tashqi tutqichni o'rnatish: Place the exterior handle assembly through the door, aligning it with the latch.
- Install Interior Handle: Connect the interior handle assembly to the exterior handle, ensuring all cables are properly routed and not pinched. Secure with mounting screws.
- Batareyalarni joylashtiring: Open the battery cover on the interior handle and insert 4 AAA batteries (included), observing polarity.
- Sinov funktsiyasi: After installation, test the mechanical key, and then proceed to program user access methods.
Refer to the included video tutorials or detailed graphical instructions provided with your product for specific step-by-step guidance.
5. Foydalanish bo'yicha ko'rsatmalar
5.1 Initial Setup and Admin Programming
Upon first power-up, you will need to set an administrator fingerprint or password. This administrator will have the authority to add or delete other users.
- To Set Admin Fingerprint: Follow the voice prompts or indicator lights. Place your finger on the sensor multiple times until successfully registered.
- To Set Admin Password: Follow the voice prompts or indicator lights. Enter a 6-10 digit password, then confirm.
5.2 Adding User Access Methods
Once an administrator is set, you can add up to 99 additional fingerprints, 99 passwords, and IC cards.
- Barmoq izlarini qo'shish: Access the programming menu (usually by pressing a specific button or using the admin fingerprint/password). Select 'Add Fingerprint' and follow the prompts to register new fingerprints.
- Adding Passwords: Access the programming menu. Select 'Add Password' and enter a new 6-10 digit password, then confirm.
- Adding IC Cards: Access the programming menu. Select 'Add Card' and present the IC card to the sensor area when prompted.
5.3 Eshikning qulfini ochish

Image 5.1: Multiple access options for unlocking the door.
- Barmoq izini ochish: Place your registered finger on the fingerprint sensor. The lock will unlock in approximately 0.5 seconds if recognized.
- Parolni ochish: Klaviaturada ro'yxatdan o'tgan parolingizni, so'ngra "#" tugmachasini kiriting.
- Anti-Peep Password: To prevent others from guessing your password, you can enter random digits before and after your actual password. For example, if your password is '123456', you can enter '987123456321'. The lock will recognize the correct sequence within the longer string.
- IC karta qulfini ochish: Present a registered IC card to the card reader area on the lock.
- Mexanik kalitni ochish: Insert the mechanical key into the keyhole and turn to unlock. This is for emergency use or when batteries are depleted.
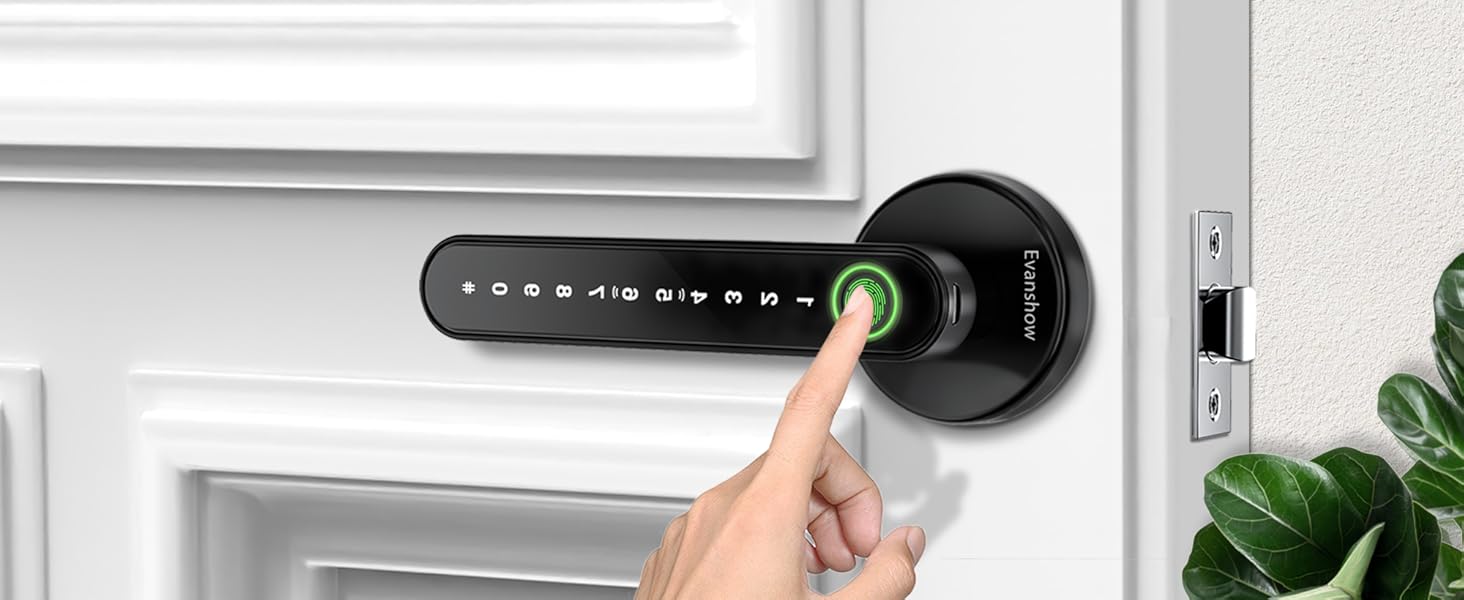
Image 5.2: Unlocking the door using a registered fingerprint.
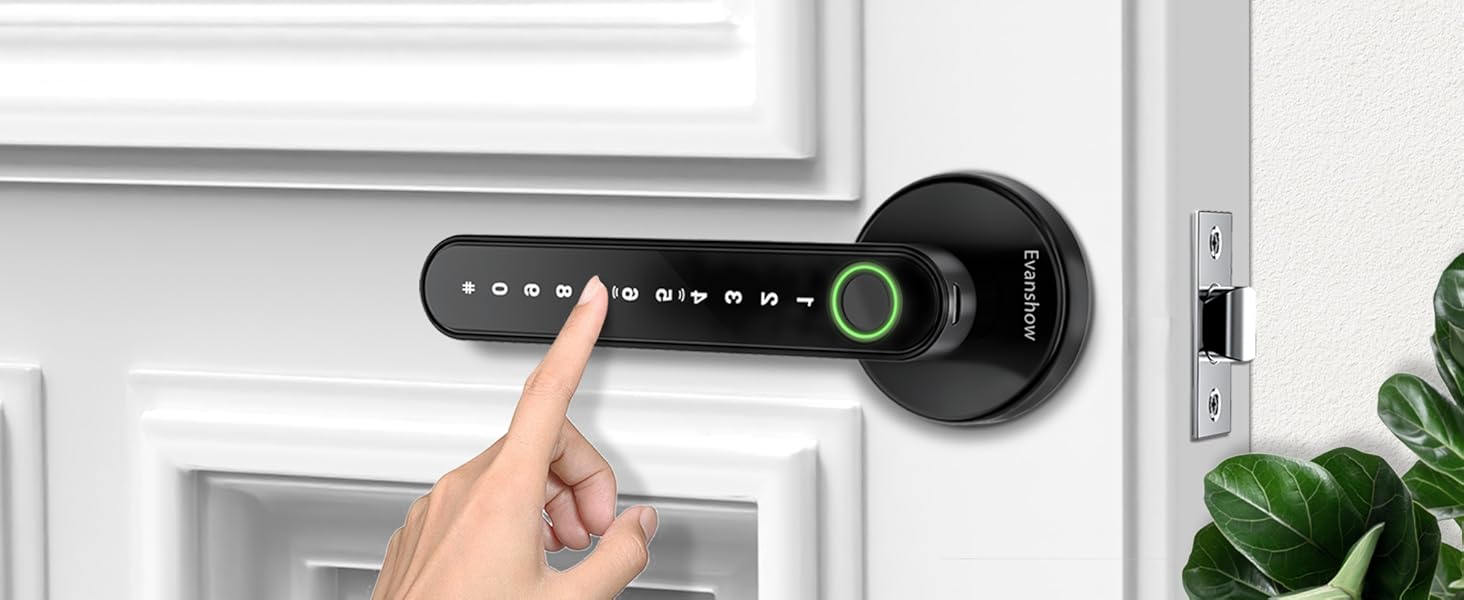
Image 5.3: Entering a password on the keypad to unlock the door.
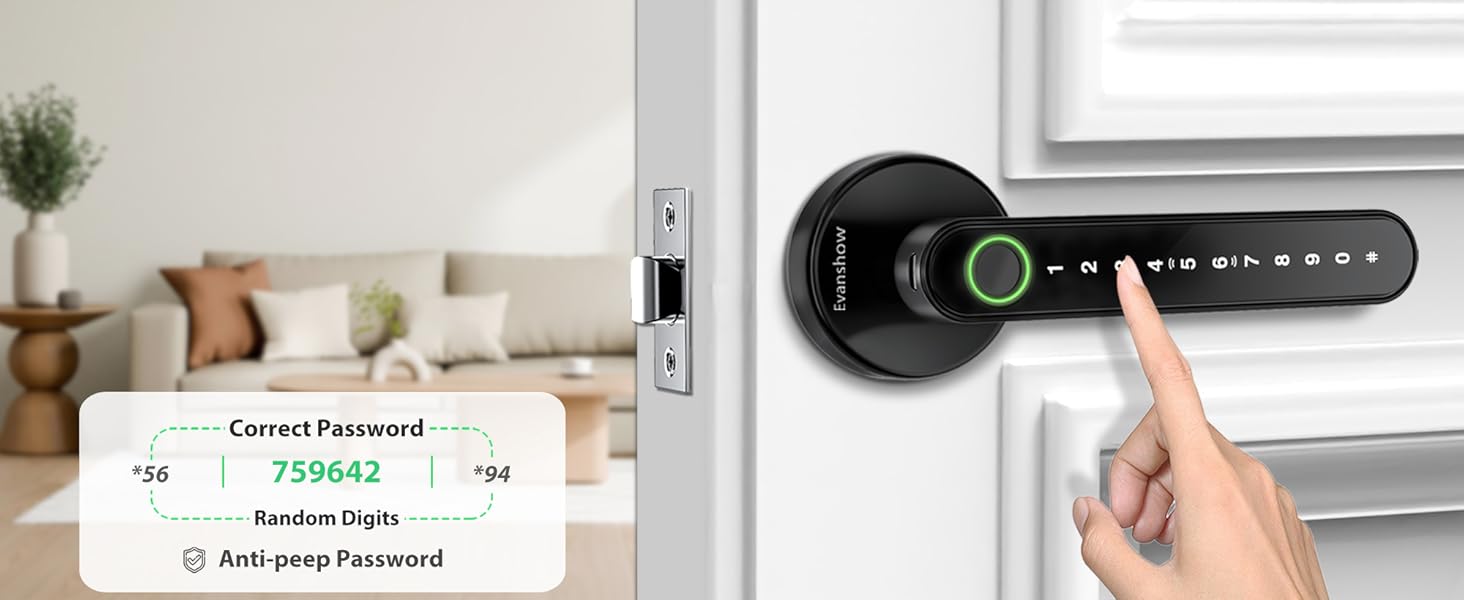
Image 5.4: Illustration of the anti-peep password function.
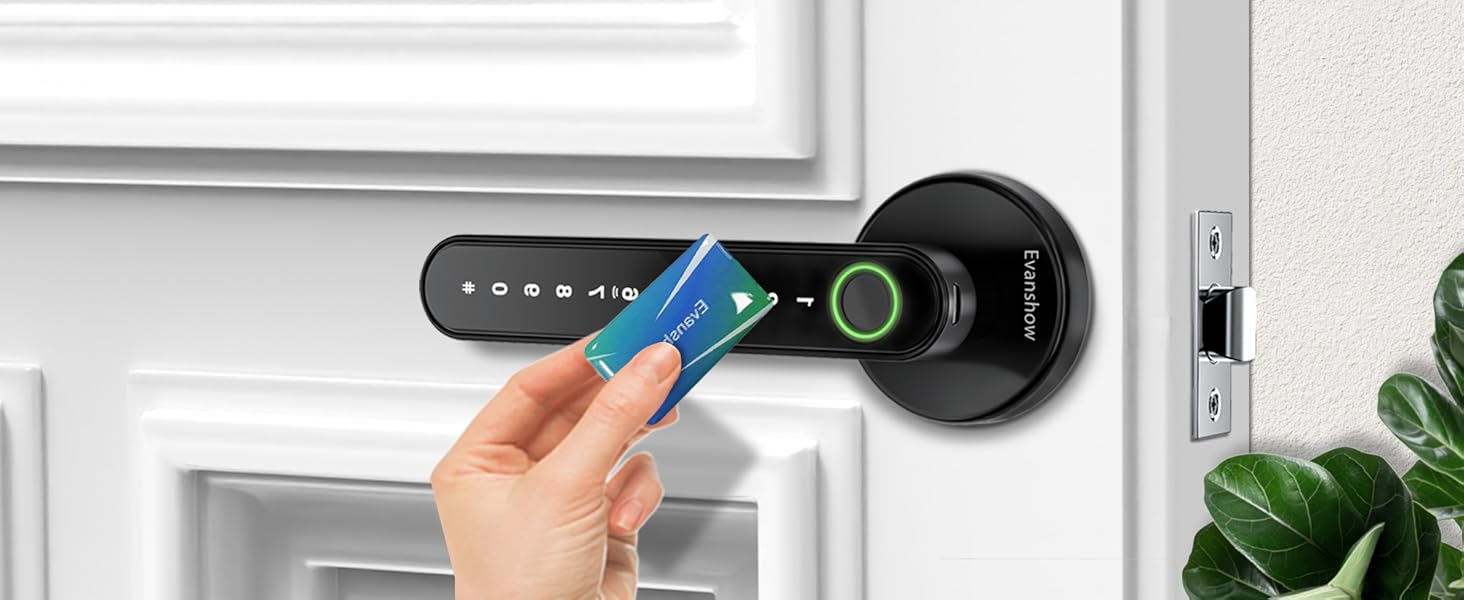
Image 5.5: Unlocking the door using an IC card.
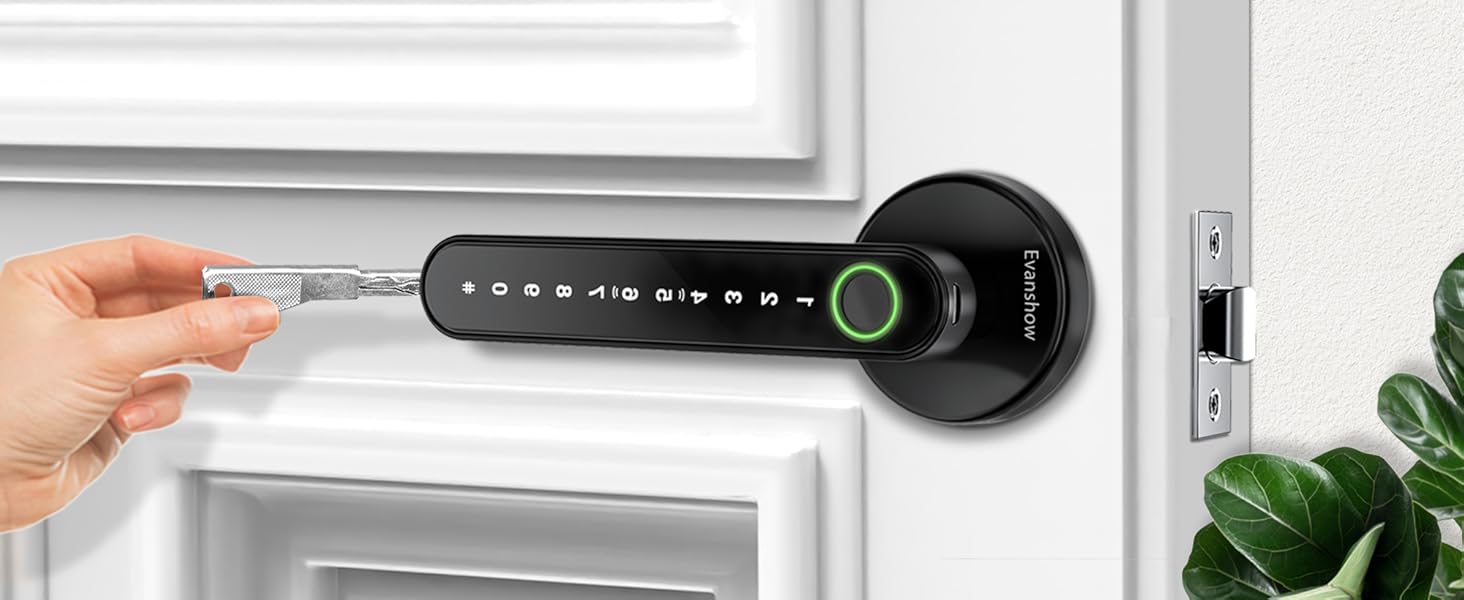
Image 5.6: Unlocking the door with a mechanical key.
5.4 Avtomatik qulflash funksiyasi
The lock features an auto-lock function, which automatically secures the door after a short delay once it is closed. This feature enhances security by ensuring the door is always locked. The specific delay time may be pre-set or configurable directly on the lock.
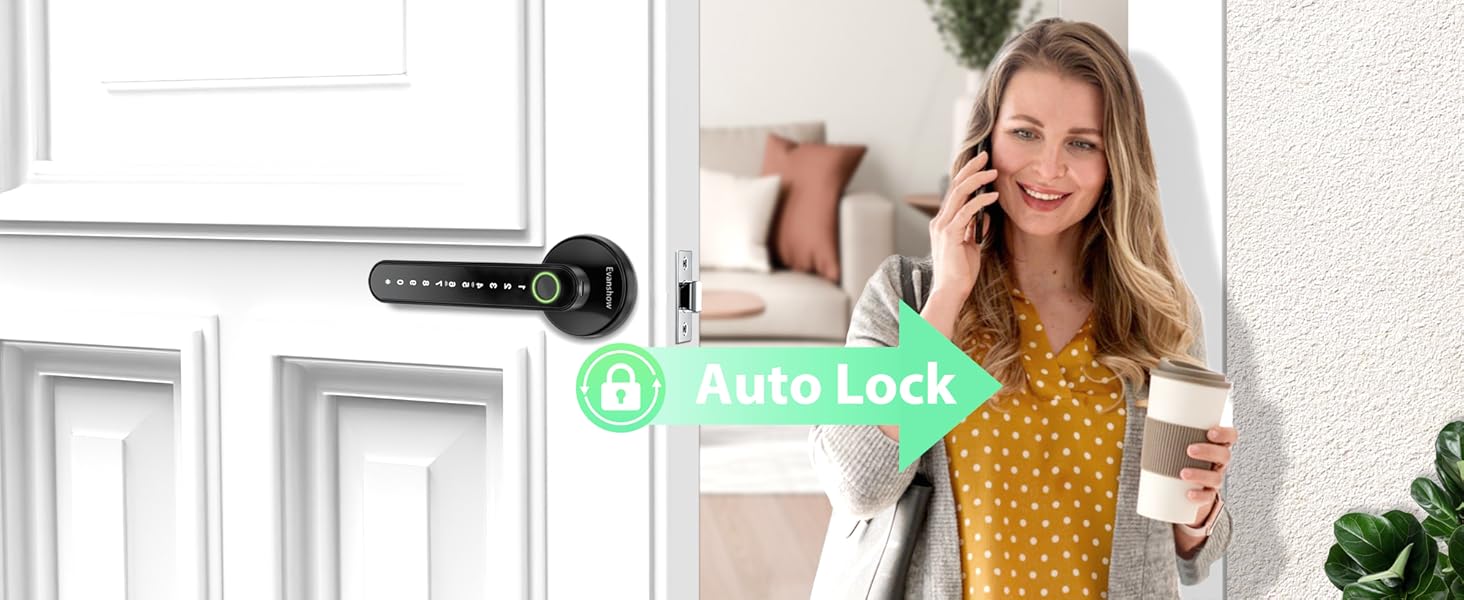
Image 5.7: The auto-lock feature securing the door automatically.
6. Xizmat ko'rsatish
6.1 Batareyani almashtirish
The lock is powered by 4 AAA batteries. When the battery level is low, the lock will provide an audible or visual warning. Replace all four batteries promptly to ensure continuous operation.
- Locate the battery cover on the interior handle.
- Qopqoqni olib tashlang.
- Eski batareyalarni olib tashlang va ularni mas'uliyat bilan tashlang.
- To'g'ri qutblanishni (+/-) ta'minlab, ikkita yangi AAA batareyasini joylashtiring.
- Batareya qopqog'ini almashtiring.
Using high-quality alkaline batteries is recommended for optimal performance and battery life.
6.2 Tozalash
To maintain the appearance and functionality of your lock, clean it regularly with a soft, dry cloth. Avoid using abrasive cleaners, solvents, or harsh chemicals, as these can damage the finish and electronic components.
7. Muammolarni bartaraf qilish; nosozliklarni TUZATISH
- Barmoq izi noma'lum:
- Barmog'ingiz toza va quruq ekanligiga ishonch hosil qiling.
- Try repositioning your finger on the sensor.
- If issues persist, re-register your fingerprint.
- Klaviatura javob bermayapti:
- Check battery level; replace batteries if low.
- Ensure you are pressing the keys firmly.
- Qulf qo'shilmaydi/o'chirilmaydi:
- Check for any obstructions in the door frame or latch area.
- Qulfning to'g'ri hizalanganligiga va o'rnatilganligiga ishonch hosil qiling.
- Mexanik kalit ishlamayapti:
- Kalit to'liq kiritilganligiga va to'g'ri burilganligiga ishonch hosil qiling.
- Check for any debris in the keyhole.
- Batareya kamligi haqida ogohlantirish:
- Replace all 4 AAA batteries immediately.
8. Kafolat va qo'llab-quvvatlash
For warranty information, technical support, or service inquiries, please contact Evanshow customer service directly. Contact details can typically be found on the product packaging or the official Evanshow websayt.
Ask a question about this manual
Ask about setup, troubleshooting, compatibility, parts, safety, or missing instructions. Manuals+ will review the question and use this page’s manual context to help answer it.