1. Kirish va mahsulot tugadiview
This manual provides detailed instructions for the installation, operation, and maintenance of your WALI Vertical Dual Monitor Wall Mount, Model 012ARMV-49. This mount is designed to support two monitors in a stacked configuration, optimizing desk space and providing ergonomic viewburchaklar.
The mount supports displays from 17 to 49 inches, with a maximum weight capacity of 44 lbs (20 kg) per arm. It is compatible with VESA 75x75mm and 100x100mm mounting patterns. Key features include flexible tilt, swivel, and height adjustments, along with 360-degree rotation for versatile screen positioning.
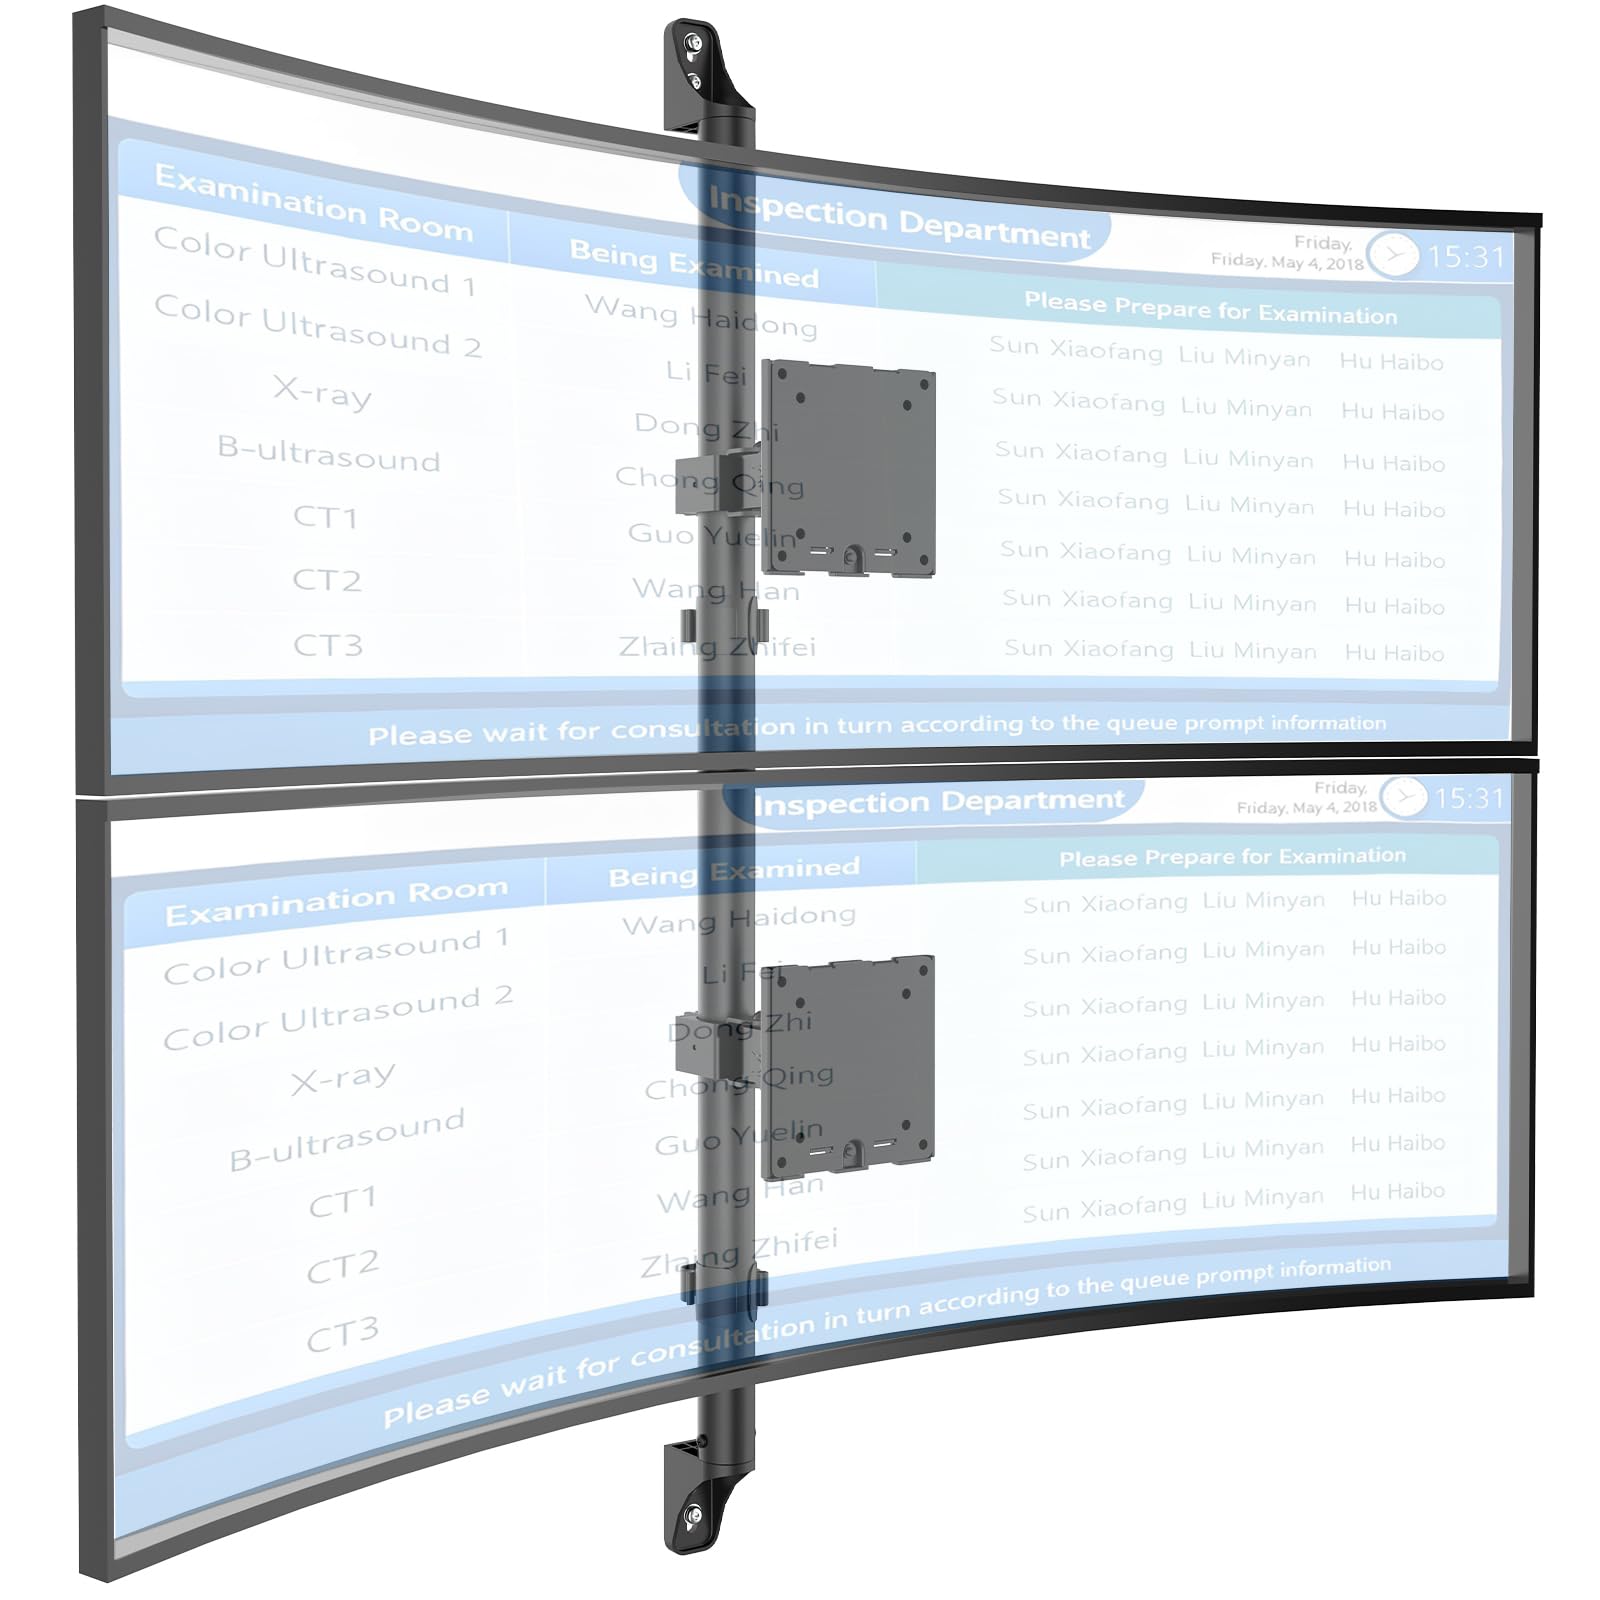
Figure 1: WALI Vertical Dual Monitor Wall Mount with two curved monitors.
2. Xavfsizlik ma'lumotlari
Please read and understand all instructions before installation and use. Failure to do so may result in personal injury or property damage. Keep this manual for future reference.
- Og'irlik hajmi: Do not exceed the maximum weight capacity of 44 lbs (20 kg) per monitor. Exceeding this limit can result in serious injury or product failure.
- Monitor hajmi: Ensure your monitors are within the supported size range of 17-49 inches.
- VESA mosligi: Verify your monitor's VESA mounting pattern (75x75mm or 100x100mm) before installation.
- Devor turi: This mount is designed for installation on concrete/brick walls or wooden studs. Do not install on drywall alone.
- Professional o'rnatish: Agar o'rnatish jarayoni yoki devor turi haqida ishonchingiz komil bo'lmasa, malakali mutaxassis bilan maslahatlashing.
- Harakatlanuvchi qismlar: Keep hands and fingers clear of moving parts during adjustment to prevent pinching.
- Bolalar: Keep small parts and packaging materials away from children, as they may pose a choking hazard.
3. Paket tarkibi
Verify that all components are present and undamaged. If any parts are missing or damaged, contact WALI customer support.
- 1 x WALI Vertical Dual Monitor Wall Mount (Black)
- Mounting Hardware Kit (includes screws, washers, wall anchors for masonry, and self-tapping screws for wood)
- Foydalanuvchi uchun qo'llanma
4. Texnik shartlar
| Xususiyat | Spetsifikatsiya |
|---|---|
| O'rnatish turi | Devorga o'rnatish |
| Harakat turi | Artikulyatsiya |
| Brend | VALI |
| Material | Dual aerospace-grade aluminum mounting brackets, High-strength steel pole |
| Rang | Qora |
| Mos qurilmalar | Monitor, televizor |
| Maksimal burilish burchagi | 20 daraja |
| Minimum Supported Screen Size | 17 dyuym |
| Maximum Supported Screen Size | 49 dyuym |
| Model raqami | 012ARMV-49 |
| VESA muvofiqligi | 75x75mm, 100x100mm |
| Og'irlik sig'imi | Har bir qo'l uchun 44 funt (20 kg). |
5. O'rnatish va o'rnatish
Follow these steps carefully to install your WALI Vertical Dual Monitor Wall Mount.
5.1 Devorni tayyorlash
- Devor turini aniqlang: This mount is suitable for wooden studs, solid concrete walls, and brick walls.
- Locate Studs (for wood walls): Use a stud finder to locate the center of a wooden stud. Mark the drilling locations.
- Mark burg'ulash joylari: Hold the wall plate against the wall at your desired height and mark the screw holes. Ensure it is level.

Figure 2: Wall compatibility for installation.
5.2 Attaching the Wall Plate
- Uchuvchi teshiklarni burg'ulash: Drill pilot holes at the marked locations. The size of the drill bit will depend on your wall type and the provided hardware.
- Xavfsiz devor plitasi: Attach the wall plate to the wall using the appropriate screws and anchors for your wall type. Ensure it is firmly secured.

Figure 3: Securing the wall mount plate.
5.3 Attaching VESA Plates to Monitors
- Remove Original Stand: Carefully remove the original stand from your monitors.
- VESA plitasini biriktiring: Align the VESA plate with the mounting holes on the back of your monitor. Use the provided screws to secure the plate. Ensure the plate is oriented correctly for vertical stacking.
5.4 Mounting Monitors to the Arm
- Slide Arm onto Wall Base: Carefully slide the monitor arm assembly onto the secured wall base.
- Monitorlarni ulash: With assistance, carefully lift each monitor and slide its VESA plate onto the corresponding arm bracket. Ensure it clicks securely into place.
- Secure Monitors: Use the safety screws or clips to prevent accidental dislodgement of the monitors from the arms.

Figure 4: Monitor arm assembly and attachment points.
5.5 Kabelni boshqarish
- Yo'nalish kabellari: Utilize the integrated cable management system to route monitor cables neatly along the arm and down the wall pole.
- Xavfsiz kabellar: Use the provided clips or ties to secure the cables, preventing clutter and ensuring a clean setup.

5-rasm: Integratsiyalashgan kabel boshqaruv tizimi.
6. Foydalanish bo'yicha ko'rsatmalar (sozlashlar)
The WALI Vertical Dual Monitor Wall Mount offers various adjustments for optimal viewqulaylik.
- Balandlikni sozlash: The monitors can be adjusted vertically along the main pole. Loosen the adjustment screws on the arm brackets, slide the monitors to the desired height, and then re-tighten the screws. The maximum height adjustment is 28.74 inches.
- Nishabni sozlash: Tilt the monitors up to +50 degrees or down to -20 degrees to reduce glare and find your preferred viewkirish burchagi.
- Burilishni sozlash: Swivel the monitors up to +/-90 degrees horizontally for collaborative work or to adjust the viewyo'nalishi.
- Aylanish: Rotate the monitors 360 degrees to switch between landscape and portrait orientations.

Figure 6: Tilt, Swivel, and Rotation adjustments.

Figure 7: Full motion adjustment range and dimensions.
7. Xizmat ko'rsatish
Regular maintenance ensures the longevity and safe operation of your monitor mount.
- Tozalash: Tog'ni yumshoq mato bilan artib oling, damp mato. Abraziv tozalash vositalaridan yoki erituvchilardan saqlaning.
- Qattiqlikni tekshiring: Barcha vintlar va ulanishlarning mahkam va xavfsiz ekanligiga ishonch hosil qilish uchun ularni vaqti-vaqti bilan tekshirib turing. Agar kerak bo'lsa, qayta torting.
- Zararni tekshirish: Regularly inspect the mount for any signs of wear, damage, or corrosion. Discontinue use and contact support if any issues are found.
8. Muammolarni bartaraf qilish; nosozliklarni TUZATISH
If you encounter issues with your WALI Vertical Dual Monitor Wall Mount, refer to the following common problems and solutions:
- Monitor cho'kadi yoki o'rnini ushlab turmaydi:
- Ensure the monitor weight is within the 44 lbs (20 kg) per arm limit.
- Tighten the tension adjustment screws on the arm joints using the included tool.
- Tog' o'zini beqaror his qiladi:
- Verify that the wall plate is securely fastened to the wall with appropriate anchors for your wall type.
- Check that all connections between the arm and the VESA plates are tight.
- Difficulty Adjusting Monitor Position:
- Loosen the tension adjustment screws slightly if the movement is too stiff.
- Ensure no cables are obstructing the movement of the arms.
9. Kafolat va qo'llab-quvvatlash
Your WALI Vertical Dual Monitor Wall Mount comes with a 10 Yil Kafolat, normal foydalanish sharoitida materiallar va ishlov berishdagi nuqsonlarni qoplash.
For technical assistance, missing parts, or warranty claims, please contact WALI customer support. Our experienced and friendly US-based customer support team is available to assist you 7 days a week.
Bog'lanish uchun ma'lumot: Refer to the WALI webeng dolzarb aloqa ma'lumotlari uchun sayt yoki mahsulot qadoqlash.