1. Mahsulot tugadiview
This manual provides instructions for the assembly and care of the Tamiya 35157 1/35 U.S. Marine M60A1 Tank Plastic Model Kit. The M60A1 variant, first produced in 1963, features a M68 105mm main gun and a wedge-shaped monobloc-cast turret. U.S. Marine Corps M60A1 tanks were often equipped with reactive armor (ERA) for enhanced protection, a feature replicated in this model kit. This kit allows for the creation of a detailed static display model of this historically significant military vehicle.
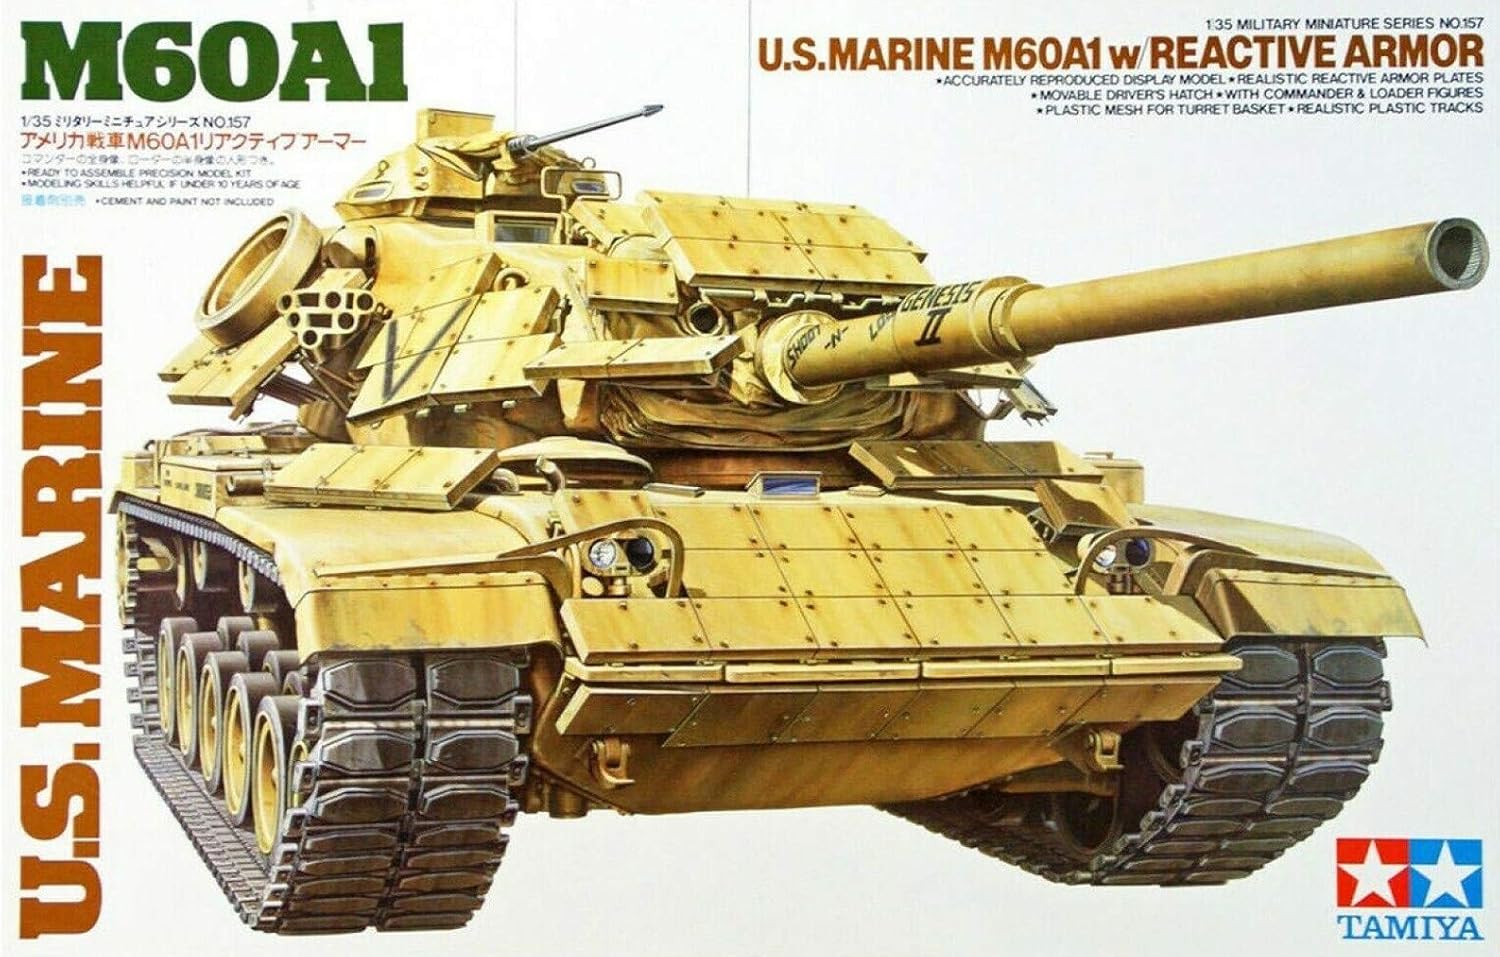
Image: The product box art for the Tamiya 35157 1/35 U.S. Marine M60A1 Tank Plastic Model Kit, showing a detailed illustration of the M60A1 tank with reactive armor.
2. Xavfsizlik ma'lumotlari
Ogohlantirish: This product contains small parts and is not suitable for children. It is recommended for ages 16 and up. Always use tools and adhesives in a well-ventilated area. Keep all modeling materials out of reach of small children and pets. Follow all safety warnings provided with adhesives, paints, and other modeling supplies.
3. Qutida nima bor
The Tamiya 35157 1/35 U.S. Marine M60A1 Tank Plastic Model Kit includes:
- Plastic parts for one 1/35 scale U.S. Marine M60A1 Tank model.
- Decals for markings.
- Yig'ish bo'yicha ko'rsatmalar.
Eslatma: Paint and assembly cement are required and sold separately.
4. Recommended Tools and Materials
Successful assembly of this model kit requires specific tools and materials. The following are recommended:
- Angled Tweezers
- Kesuvchi pichoq
- Decal Scissors
- Pointed Side Cutters for Plastic
- Basic Brush Set
- Masking Tape (10mm with Dispenser)
- Plastic Cement (e.g., Tamiya Plastic Cement 40ml)
- Extra Thin Plastic Cement (e.g., Tamiya Extra Thin Plastic Cement 40ml)
- Decal Softener (e.g., Tamiya Mark Fit (Strong) Decal Softener 40ml)
- Decal Adhesive (e.g., Tamiya Decal Adhesive Soft / Haftmittel 10ml)
- Model Paints (acrylic or enamel, as per desired finish)

Image: A visual guide to recommended tools and materials for model assembly, including various cutting tools, brushes, masking tape, and Tamiya brand plastic cements and decal solutions.
5. O'rnatish bo'yicha ko'rsatmalar
Follow the detailed step-by-step instructions provided in the kit's instruction booklet. Read through all steps before beginning assembly.
- Qismlarni tayyorlash: Carefully remove parts from the sprues using side cutters. Clean any excess plastic (flash) with a hobby knife or sandpaper.
- Dry Fitting: Before applying cement, dry fit parts to ensure proper alignment and fit.
- Cementing: Apply plastic cement sparingly to bonding surfaces. Hold parts together firmly until the cement sets. Use extra thin cement for fine details and seam lines.
- Quyi yig'ilishlar: Assemble major components (e.g., hull, turret, tracks) as separate sub-assemblies before combining them.
- Reactive Armor: Attach the reactive armor plates as indicated in the instructions. These are designed to be spaced away from the main hull.
- Raqamlar: Assemble the commander and loader figures if included, following their specific instructions.

Image: A fully assembled and painted Tamiya 1/35 U.S. Marine M60A1 Tank model, showcasing the reactive armor and two crew figures in the turret hatches.
6. Finishing and Display
After assembly, the model can be painted and decaled to achieve a realistic finish.
- Rasm: Apply primer before painting. Use appropriate model paints (acrylic or enamel) for the desired camouflage scheme. Apply thin coats to preserve detail.
- Deklar: Apply decals to a glossy surface for best adhesion. Use decal softener to help decals conform to irregular surfaces. Seal decals with a clear coat.
- Weathering: Optional weathering techniques can be applied to simulate wear and tear, dust, or mud, enhancing realism.
- Displey: Place the completed model on a stable surface or a custom diorama base.
7. Xizmat ko'rsatish
To preserve the appearance of your finished model:
- Tozalash: Dust the model regularly with a soft brush or compressed air. Avoid harsh chemicals or abrasive materials.
- Saqlash: Bo'yoqning rangi o'chib ketishi yoki plastikning deformatsiyasini oldini olish uchun modelni salqin, quruq joyda, to'g'ridan-to'g'ri quyosh nuri tushmaydigan joyda saqlang.
- Ishlov berish: Handle the model carefully to avoid breaking delicate parts.
8. Muammolarni bartaraf qilish; nosozliklarni TUZATISH
Common issues encountered during model assembly and their solutions:
- Mos kelmaydigan qismlar: Ensure all flash is removed. Dry fit parts before cementing. If necessary, gently sand contact points.
- Yopishmaydigan stikerlar: Ensure the surface is clean and glossy. Use decal setting solution.
- Bo'yoq bilan bog'liq muammolar: Apply paint in thin coats to avoid obscuring detail. Ensure proper ventilation and drying time between coats.
- Broken Parts: Small parts can be reattached with plastic cement or super glue. For structural breaks, consider reinforcing with a small piece of plasticard or wire.
9. Texnik shartlar
| Xususiyat | Tafsilot |
|---|---|
| Mahsulot o'lchamlari | 15 x 9.63 x 2.75 dyuym |
| Element og'irligi | 1.34 funt |
| ASIN | B000LFQTY0 |
| Model raqami | TAM35157 |
| Ishlab chiqaruvchi tomonidan tavsiya etilgan yosh | 16 yil va undan yuqori |
| Ishlab chiqarilish sanasi | 1 yil 2019 yanvar |
| Ishlab chiqaruvchi | Tamiya |
10. Kafolat va qo'llab-quvvatlash
For specific warranty information or technical support regarding this Tamiya product, please refer to the documentation included with your kit or visit the official Tamiya website. Contact information for Tamiya customer service can typically be found on their official websayt yoki mahsulot o'ramida.


