1. Kirish
This manual provides essential information for the safe and efficient operation of your InFocus IN112a SVGA DLP Projector. Please read it thoroughly before using the projector and retain it for future reference. The InFocus IN112a is designed to deliver clear and bright projections for various applications, featuring SVGA resolution, HDMI connectivity, and 3D support.
2. Xavfsizlik ma'lumotlari
Proyektorga zarar yetkazmaslik va foydalanuvchi xavfsizligini ta'minlash uchun quyidagi xavfsizlik choralariga rioya qiling:
- Do not look directly into the projector lens qachon lamp yoniq. Kuchli yorug'lik ko'zga zarar yetkazishi mumkin.
- To'g'ri shamollatishni ta'minlang. Shamollatish teshiklarini to'sib qo'ymang.
- Only qualified service personnel should open the projector casing. Ichkarida foydalanuvchi tomonidan xizmat ko'rsatadigan qismlar yo'q.
- Faqat proyektor bilan birga kelgan quvvat simidan foydalaning.
- Proyektorni suv yoki nam muhitdan uzoqroq tuting.
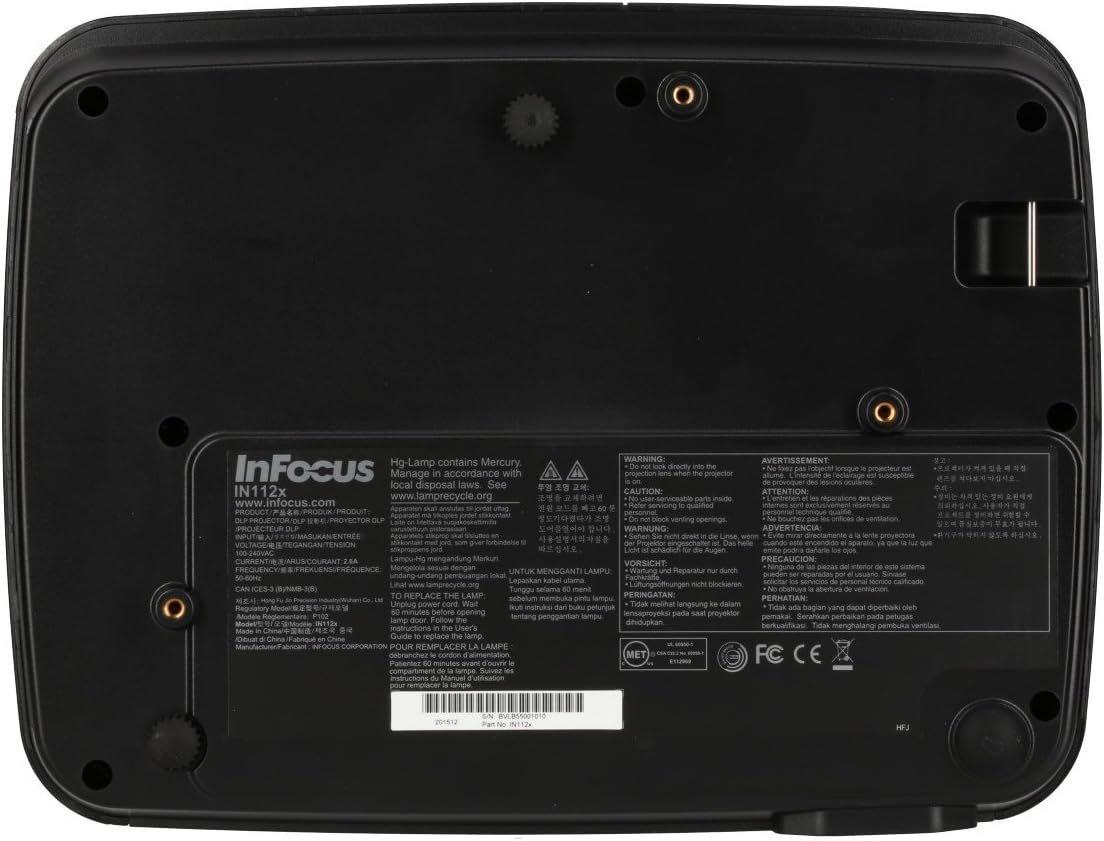
- Proektor lamp contains mercury. Dispose of lamps according to local regulations. Visit www.lamprecycle.org qo'shimcha ma'lumot uchun.

Rasm: pastki view of the InFocus IN112a projector, displaying various warning labels, regulatory compliance marks (like CE, FCC), and information regarding the mercury content in the lamp and recycling instructions.
3. Mahsulot tugadiview
3.1. Proyektor o'lchamlari

Rasm: old view of the InFocus IN112a projector, illustrating its physical dimensions. The projector measures approximately 292 mm in width, 220 mm in depth, and 108 mm in height.
3.2. Yuqori panel boshqaruv elementlari
Rasm: yuqori view of the InFocus IN112a projector, highlighting the control panel. This panel includes buttons for power, menu access, source selection, and directional navigation for menu adjustments.
The top panel features buttons for power on/off, menu access, input source selection, and navigation arrows for adjusting settings within the on-screen display (OSD) menu. The focus and zoom rings are located near the lens.
3.3. Orqa panel ulanishlari

Rasm: orqa view of the InFocus IN112a projector, displaying its comprehensive array of connectivity ports. These include HDMI 1.4, two VGA inputs (Computer 1, Computer 2), a VGA monitor output, S-Video, Composite video, two 3.5mm stereo audio inputs, one 3.5mm stereo audio output, an RS232C control port, and a USB-B port.
The rear panel provides a variety of connection options:
- HDMI1.4: Raqamli video va audio kiritish uchun.
- VGA (Computer 1, Computer 2): Two inputs for analog computer signals.
- VGA Monitor Out: For connecting an external monitor.
- Kompozit video: Standart aniqlikdagi video kiritish uchun.
- S-video: For enhanced standard definition video input.
- Audio In (3.5mm x 2): Stereo audio kiritish uchun.
- Audio chiqishi (3.5 mm): For stereo audio output to external speakers.
- RS232C: For projector control via a computer or control system.
- USB-B: Xizmat yoki proshivka yangilanishlari uchun.
4. Sozlash
4.1. Joylashtirish
Position the projector on a stable, flat surface or mount it securely to a ceiling. Ensure there is adequate space around the projector for ventilation. The distance from the screen will determine the image size. Refer to the specifications section for throw ratio details.
4.2. Quvvatni ulash
Connect the supplied power cord to the projector's power inlet and then to a grounded electrical outlet. The power LED will illuminate, indicating standby mode.
4.3. Video manbalarini ulash
Connect your video source (e.g., computer, Blu-ray player, cable box) to the appropriate input port on the projector's rear panel using a compatible cable. For best quality, use the HDMI input.
- HDMI: Connect an HDMI cable from your source to the projector's HDMI port.
- VGA: Connect a VGA cable from your computer to either the Computer 1 or Computer 2 port.
- Composite/S-Video: Connect the respective cable for older video sources.
4.4. Ovozni ulash
If using VGA, Composite, or S-Video inputs, connect an audio cable from your source's audio output to one of the projector's 3.5mm Audio In ports. HDMI carries both video and audio, so a separate audio connection is not typically needed for HDMI sources.
4.5. Adjusting Focus and Zoom
After powering on the projector and displaying an image, rotate the Fokusli uzuk around the lens until the image is sharp and clear. Use the Kattalashtirish halqasi tasvir hajmini ekraningizga moslashtirish uchun.
5. Operatsiya
5.1. Quvvatni yoqish/o'chirish
- Yoqish uchun: Press the Power button on the projector's top panel or the remote control. The power indicator will turn green.
- O'chirish uchun: Press the Power button twice. The projector will enter a cooling cycle, and the power indicator will turn red (standby) once complete.
5.2. Kirish manbasini tanlash
Press the "Source" button on the projector or remote control repeatedly to cycle through available input sources (HDMI, VGA1, VGA2, S-Video, Video). The projector will automatically detect an active signal if "Auto Source" is enabled in the menu.
5.3. Menyu navigatsiyasi
Press the "Menu" button to access the On-Screen Display (OSD) menu. Use the directional arrows to navigate through menu options and the "Enter" button to select. Press "Menu" again to exit.
5.4. 3D Content Playback
The IN112a supports 3D content from Blu-ray players, cable boxes, dish services (over HDMI), and PC-based 3D content at 120Hz. To view 3D content, you will need 144 Hz DLP Link 3D glasses (sold separately).
- Ensure your 3D source is connected via HDMI.
- Play 3D content from your source.
- Turn on your 144 Hz DLP Link 3D glasses. The projector should automatically detect the 3D signal.
6. Xizmat ko'rsatish
6.1. Cleaning the Projector Lens
Gently wipe the lens with a soft, lint-free cloth specifically designed for optical surfaces. Do not use abrasive cleaners or excessive force, as this can scratch the lens.
6.2. Lamp O'zgartirish
Proektor lamp has a lifespan of up to 10,000 hours. When the lamp life is nearing its end, a warning message may appear, or the lamp indicator LED may illuminate. Refer to the full service manual for detailed lamp almashtirish bo'yicha ko'rsatmalar. Ogohlantirish: lamp tarkibida simob mavjud. Ishlatilgan lamps according to local environmental regulations.
6.3. Cleaning Air Filters
Regularly clean the air filters to ensure proper ventilation and prevent overheating. Dust and debris can accumulate, reducing cooling efficiency. Gently remove the filter cover and clean the filter with a soft brush or vacuum cleaner. Replace the filter cover securely.
7. Muammolarni bartaraf qilish; nosozliklarni TUZATISH
| Muammo | Mumkin sabab | Yechim |
|---|---|---|
| Hech qanday rasm ko'rsatilmagan |
|
|
| Tasvir loyqa |
|
|
| Audio yo'q |
|
|
| Proyektor haddan tashqari qizib ketadi va o'chadi |
|
|
8. Texnik shartlar
| Xususiyat | Tafsilot |
|---|---|
| Model raqami | IN112X |
| Displey texnologiyasi | DLP |
| Mahalliy rezolyutsiya | SVGA (800 x 600) |
| Yorqinlik | 3200 Lumensgacha |
| Kontrast nisbati | 15,000:1 |
| Lamp Hayot | 10,000 soatgacha |
| Ulanish | HDMI 1.4, VGA x 2, Composite video, S-Video, 3.5 mm stereo in x 2, 3.5mm stereo out, VGA monitor out, RS232C, USB-B |
| 3D qo'llab-quvvatlash | Yes (requires 144 Hz DLP Link 3D glasses) |
| Otish nisbati | 1.9 - 2.09 yillar |
| Mahsulot o'lchamlari | 14.25 x 12 x 7.75 dyuym (taxminan 36.2 x 30.5 x 19.7 sm) |
| Element og'irligi | 5.4 funt (taxminan 2.45 kg) |
| Tavsiya etilgan foydalanish | Ichki/tashqi |
| Maxsus xususiyat | O'rnatilgan dinamiklar |
9. Kafolat va qo'llab-quvvatlash
For warranty information and technical support, please refer to the documentation included with your purchase or visit the official InFocus websayt. Kafolat da'volari uchun xaridingizni tasdiqlovchi hujjatingizni saqlang.


