1. Kirish
This manual provides detailed instructions for the installation, operation, and maintenance of the OOYCYOO 60A MPPT Solar Charge Controller, Model EC60A. This device is designed to efficiently manage power flow from solar panels to various battery types, including 12V, 24V, 36V, and 48V systems.
To'g'ri ishlashi va xavfsizligini ta'minlash uchun o'rnatish va ishlatishdan oldin ushbu qo'llanmani diqqat bilan o'qib chiqing.
2. Asosiy xususiyatlar
- 60A MPPT Charging: Utilizes Maximum Power Point Tracking technology for efficient solar energy conversion.
- Multi-Stage Zaryadlash: 4-s xususiyatiga egatage battery charging algorithm (Bulk Charge, Boost Charge, Float Charge, Equalization) for optimal battery health.
- Keng jildtage Qo'llab-quvvatlash: Automatically detects and supports 12V, 24V, 36V, and 48V battery systems.
- Yuqori PV kirish: Supports solar panel open circuit voltage up to 160VDC and input power up to 2800W (for 48V systems).
- Batareya mosligi: Compatible with various battery types including AGM, Gel, Flooded, and Lithium (LFP), with pre-set and user-defined charging parameters.
- Yuqori samaradorlik: Tracking efficiency not less than 98.1% and peak conversion efficiency up to 98%.
- Kengaytirilgan himoya: Includes PV over current/power, PV short circuit, PV reverse polarity, night reverse charging, battery reverse polarity, over voltage, over discharge, overheating, lithium battery low temperature, load short circuit, load overload, and TVS high voltage o'tuvchi.
- LCD displey: Integrated blacklight LCD for monitoring system status, including KWH charge amount.
- Samarali sovutish: Die-cast aluminum construction with built-in cooling fan for effective heat dissipation.
3. Xavfsizlik bo'yicha ko'rsatmalar
O'rnatish va ishlatish paytida quyidagi xavfsizlik choralariga rioya qiling:
- Elektr ta'minotini ulashdan oldin barcha ulanishlarning to'g'ri va xavfsiz ekanligiga ishonch hosil qiling.
- Avval batareyani, keyin quyosh panelini va nihoyat yukni ulang. Teskari tartibda ajratib oling.
- Tekshirgichni o'zingiz qismlarga ajratmang yoki ta'mirlashga urinmang. Xizmat ko'rsatish uchun malakali xodimlar bilan bog'laning.
- Tekshirish moslamasini yaxshi gazlangan joyga, yonuvchan materiallardan va to'g'ridan-to'g'ri quyosh nurlaridan uzoqroq joyda joylashtiring.
- Elektr tizimlari bilan ishlashda tegishli shaxsiy himoya vositalarini (PPE) taqing.
- Tizim jildga ishonch hosil qilingtage kontrollerning maksimal kirish hajmidan oshmayditage (160VDC).
4. Mahsulot tugadiview
The OOYCYOO 60A MPPT Solar Charge Controller features a robust design with an intuitive LCD display and clearly labeled terminals for easy connection.

4.1-rasm: Old view of the OOYCYOO 60A MPPT Solar Charge Controller, showing the LCD display, control buttons, and terminal connections.

4.2-rasm: Batafsil view of the controller highlighting the LCD display, control buttons (SET, A, B, C, D), 5-second reset function, and clearly marked Solar Panel, Battery, and Load terminals.
4.1. Components and Interface
- LCD displey: Shows real-time system parameters such as PV input voltage, batareya hajmitage, load output, and charging status.
- Control Buttons (A, B, C, D, SET): Used for navigating menus, adjusting settings, and confirming selections.
- Quyosh paneli terminallari: Connect positive and negative leads from the solar array.
- Batareya terminallari: Connect positive and negative leads to the battery bank.
- Yuklash terminallari: Connect positive and negative leads to DC loads.
5. O'rnatish va sozlash
5.1. Tekshirish moslamasini o'rnatish
Mount the controller vertically on a wall or a stable surface in a dry, well-ventilated indoor location. Ensure adequate clearance around the unit for proper airflow and heat dissipation. Avoid direct sunlight, high temperatures, and humid environments.
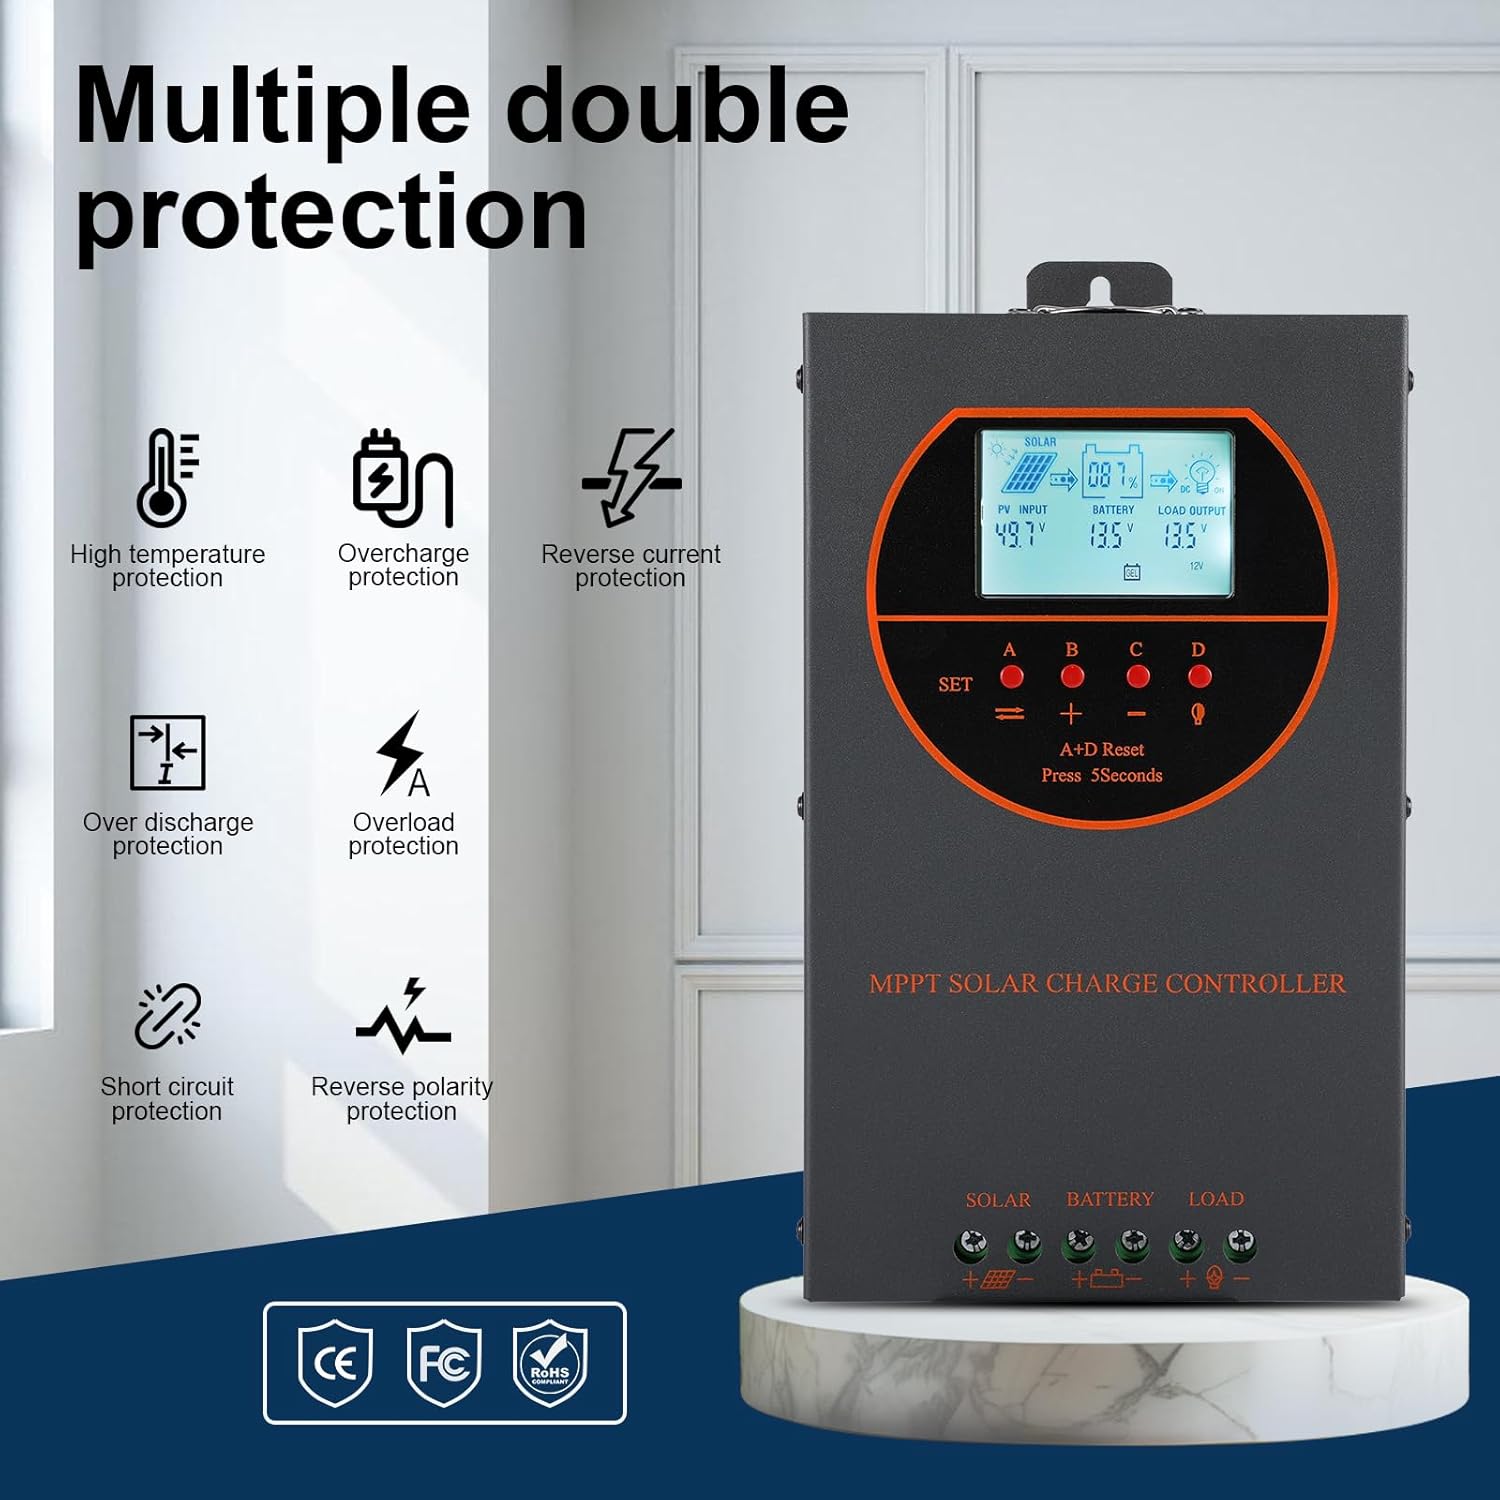
Figure 5.1: Dimensions of the OOYCYOO 60A MPPT Solar Charge Controller, showing approximate measurements of 14cm (5.5in) width, 5.5cm (2.2in) depth, and 23cm (9.1in) length.
5.2. Simlarni ulash ketma-ketligi
Follow this wiring sequence carefully to prevent damage to the controller or other components:
- Batareyani ulang: Connect the positive and negative terminals of the battery to the corresponding battery terminals on the controller. Ensure correct polarity. The controller will automatically detect the battery voltage (12V/24V/36V/48V).
- Quyosh panelini ulang: Connect the positive and negative leads from the solar panel array to the corresponding PV input terminals on the controller. Ensure correct polarity.
- DC yukini ulang (ixtiyoriy): Connect the positive and negative leads of your DC load to the corresponding load terminals on the controller.
Muhim: Always connect the battery first and disconnect the solar panel first when disassembling the system.

Figure 5.2: Illustrative wiring diagram showing connections from solar panels to the controller, then to the battery, and finally to DC and AC loads via an inverter. This diagram also shows the possibility of connecting two 60A controllers in parallel for increased capacity.
5.3. Tizim jildtage and Power Configuration
The controller automatically identifies the battery system voltage. Ensure your solar panel array's open circuit voltage (Voc) and maximum input power are within the specified limits for your battery system:
| Batareya tizimi | Maks. PV Open Circuit Voltage (ovozli) | Maks. PV kirish quvvati |
|---|---|---|
| 12V | ≤72V | 720 Vt |
| 24V | ≤108V | 1440 Vt |
| 36V | ≤144V | 2100 Vt |
| 48V | ≤160V | 2800 Vt |

Figure 5.3: Diagram illustrating the connection of multiple PV modules in series to the controller, with a table detailing recommended system parameters for 12V, 24V, and 48V systems, including battery float voltage, jild ostidatage himoya, tiklash jildtage, and maximum input power.
6. Operatsiya
6.1. LCD Display and Indicators
The LCD display provides real-time information about the solar charging system. Key indicators include:
- PV kirish: Joriy jildni ko'rsataditage and power from the solar panels.
- Batareya: Joriy batareya quvvatini ko'rsataditage va zaryadlash holati.
- Yuklash chiqishi: DC yuk chiqishi holatini ko'rsatadi.
- KWH: Displays the total accumulated charge in kilowatt-hours.
6.2. Battery Type Selection
The controller is compatible with various battery types. You can select the appropriate battery type through the controller's settings menu to ensure optimal charging. Supported types include:
- GEL
- AGM
- USER (user-defined parameters)
- SEL (Sealed)
- FLD (Flooded)
- LI (Lithium)
- LiFePO4

Figure 6.1: Diagram illustrating the controller's strong adaptability to various battery types (GEL, AGM, USER, SEL, FLD, LI, LiFePO4) and a graph showing the 4-stage charging process: Bulk Charge, Constant Charging (Boost), and Float Charge.
6.3. Charging Algorithm
Tekshirish moslamasi 4 soniyadan foydalanaditage charging algorithm to maximize battery life and performance:
- Ommaviy to'lov: Delivers maximum current to rapidly charge the battery to approximately 80% capacity.
- To'lovni oshirish: Batareyani yuqori quvvatda zaryad qiladitage to ensure full charge and equalization.
- Suzish uchun to'lov: Maintains the battery at a safe voltage to prevent self-discharge and overcharging.
- Tenglash: Batareya hajmini muvozanatlash uchun vaqti-vaqti bilan to'lib toshgan batareyalarni ortiqcha zaryadlayditages and prevent sulfation. (Applicable to flooded batteries only, if enabled).
7. Xizmat ko'rsatish
Muntazam texnik xizmat ko'rsatish quyosh batareyasi boshqaruvchisining uzoq umr ko'rishini va optimal ishlashini ta'minlaydi:
- Ulanishlarni tekshiring: Vaqti-vaqti bilan barcha simli ulanishlarni mahkamlik va korroziya uchun tekshiring.
- Toza boshqaruvchi: Keep the controller clean and free from dust. Use a dry cloth to wipe the exterior. Ensure ventilation openings are not obstructed.
- Ishlash monitoringi: Regularly check the LCD display for normal operating parameters. Note any unusual readings.
- Batareyani tekshirish: Inspect batteries for any signs of damage, leakage, or corrosion. Clean battery terminals as needed.
8. Muammolarni bartaraf qilish; nosozliklarni TUZATISH
This section addresses common issues you might encounter with the OOYCYOO 60A MPPT Solar Charge Controller.
8.1. Umumiy muammolar va yechimlar
| Muammo | Mumkin sabab | Yechim |
|---|---|---|
| Displey yo'q/Kontroller yoqilmayapti | Batareya ulanmagan yoki quvvati pasttage; teskari kutupluluk. | Batareya ulanishlarini va jildni tekshiringtage. To'g'ri kutupluluğa ishonch hosil qiling. Batareyani zaryadlang, agar voltage juda past. |
| Quyoshdan zaryadlash yo'q | Solar panel not connected; reverse polarity; low sunlight; PV over-voltage/joriy. | Quyosh paneli ulanishlarini va polaritni tekshiring. Etarli quyosh nurini ta'minlang. PV hajmini tekshiringtage and current are within limits. |
| Yuk ishlamayapti | Load not connected; load short circuit; overload; battery low voltage. | Check load connections. Inspect for short circuits or overloads. Ensure battery has sufficient charge. |
| Tekshirish moslamasining haddan tashqari qizishi | Poor ventilation; excessive load/PV input. | Ensure adequate airflow around the controller. Reduce load or PV input if consistently overheating. |
8.2. Himoya funktsiyalari
The controller includes multiple protection features to safeguard the system:
- PV Haddan tashqari oqim/quvvat
- PV qisqa tutashuvi
- PV teskari kutupluluğu
- Kechasi teskari zaryadlash
- Batareyaning teskari polaritesi
- Batareya hajmitage
- Batareyaning haddan tashqari zaryadsizlanishi
- Battery Overheating, Controller Overheating
- Lityum batareyaning past harorati
- Qisqa tutashuvni yuklash
- Haddan tashqari yuk
- TVS High Voltage O'tish davri

Figure 8.3: Visual representation of the multiple protection features integrated into the controller, including low voltage, overheat, short circuit, reverse protection, overload, and overcurrent protection.

8.4-rasm: Ichki view of the controller, highlighting key components such as copper coil transformers and capacitors, which contribute to its robust performance and protection features.
9. Texnik spetsifikatsiyalar
| Parametr | Spetsifikatsiya |
|---|---|
| Nominal zaryad oqimi | 60A |
| Tizim nominal jildtage | 12V/24V/36V/48V DC Auto Identifying |
| Batareya hajmitage diapazoni | 9V ~ 55V |
| Maks. PV Open Circuit Voltage | 160VDC |
| Max. PV Input Power (12V System) | 720 Vt |
| Max. PV Input Power (24V System) | 1440 Vt |
| Max. PV Input Power (36V System) | 2100 Vt |
| Max. PV Input Power (48V System) | 2800 Vt |
| Quvvat terminali | 6-12 AWG |
| Olchamlari (L*W*H) | 11 x 6 x 2.5 dyuym (taxminan 27.9 x 15.2 x 6.3 sm) |
| Og'irligi | 4.07 funt (taxminan 1.8 kg) |
| Kuzatuv samaradorligi | ≥98.1% |
| Peak Conversion Efficiency | 98% gacha |
| Sovutish | Die-cast aluminum housing, built-in cooling fan |
| Qo'llab-quvvatlanadigan batareya turlari | AGM, Gel, Flooded, Lithium (LFP), Sealed, User-defined |
| Material | alyuminiy |
| Model raqami | EC60A |
| UPC | 750864834470 |
10. Yordam va aloqa
For technical support, warranty claims, or further assistance, please contact OOYCYOO customer service through the retailer where the product was purchased or visit the official OOYCYOO store on Amazon: